In this guide, you will learn the basics of fresh pasta making and step-by-step instructions and videos to make the most common pasta shapes by hand from scratch, without the use of a pasta machine.
All you need is a wooden board, a rolling pin, and a knife. Some pasta shapes are made with the use of other tools like a pasta cutter and a gnocchi board. These tools are not required and I'll explain an alternative for each.
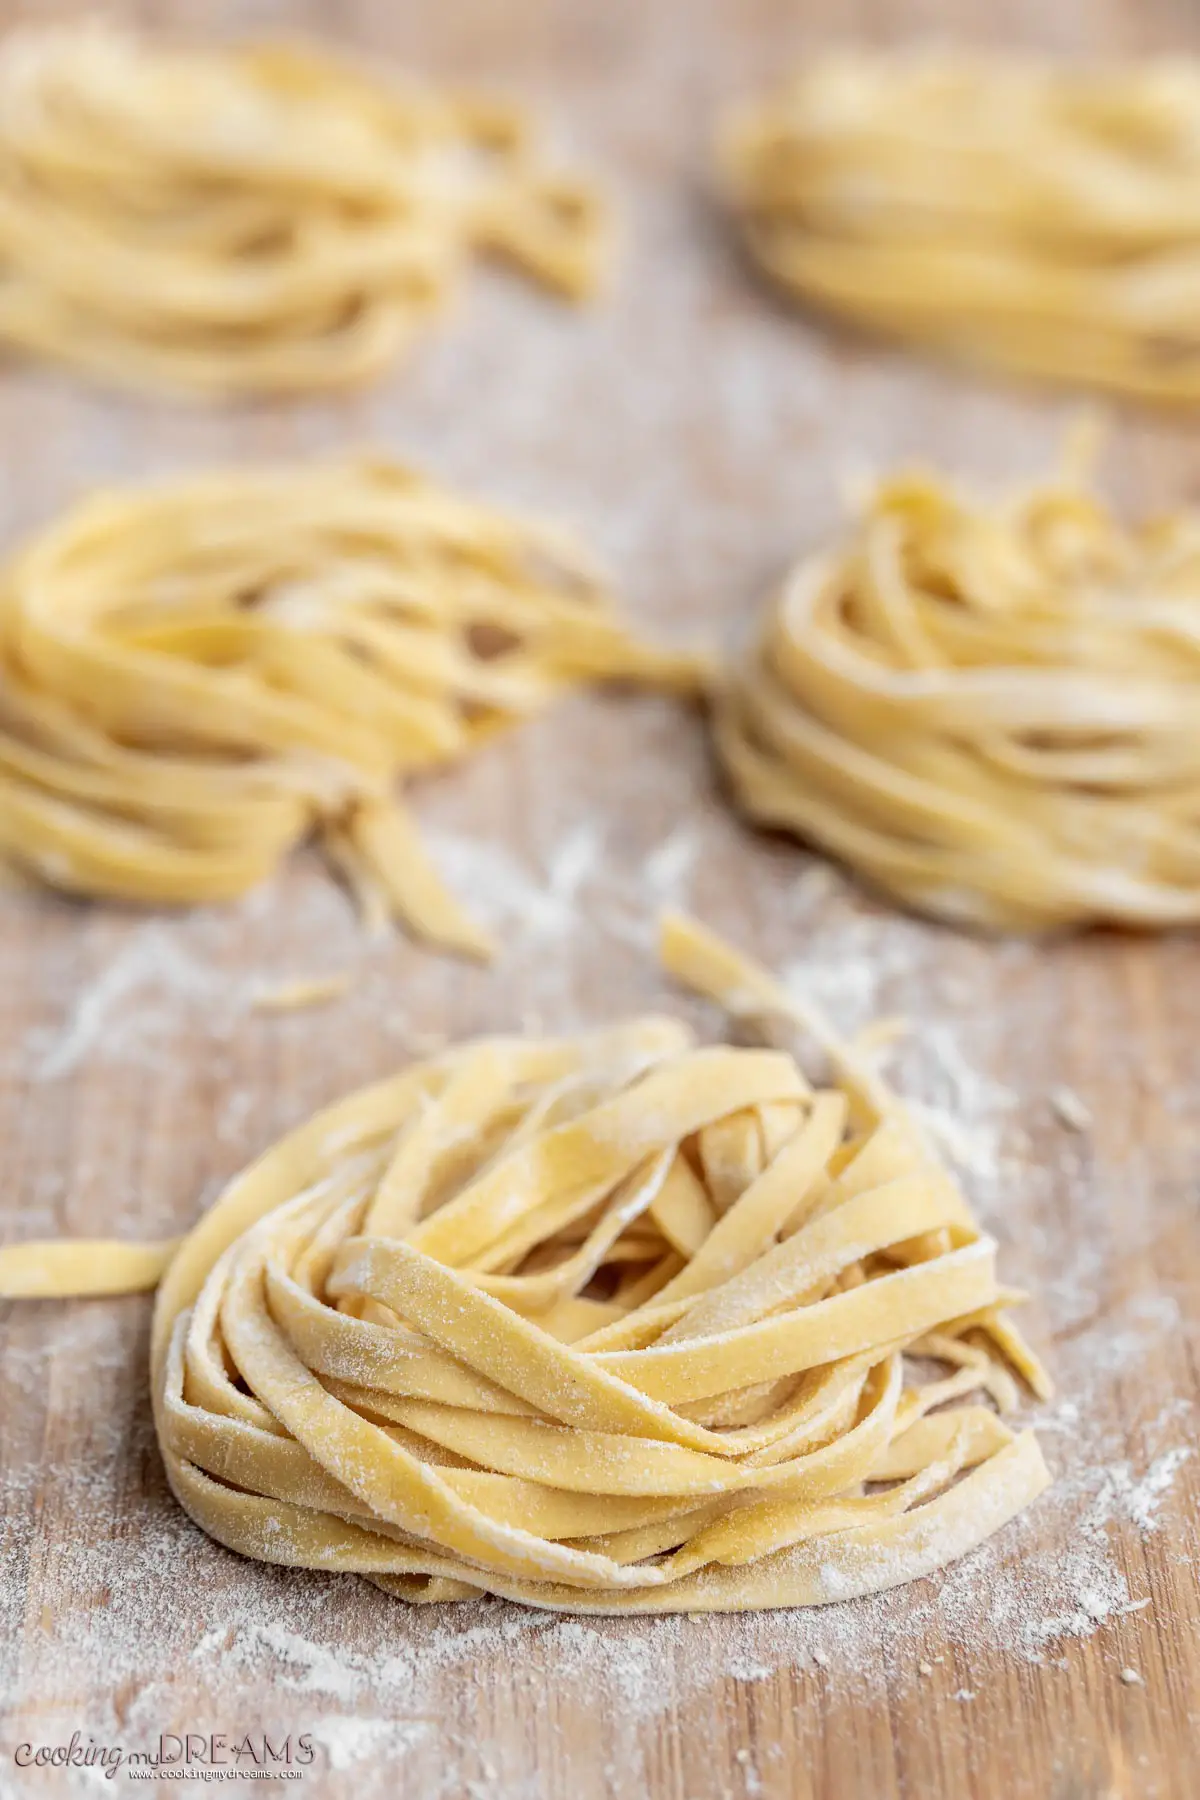
For more info on pasta, check out also this guide on how to freeze and cook fresh pasta and this guide to pasta shapes and sauces.
INDEX:
A brief history of Pasta
Pasta has ancient origins, historians found mentions of Pasta in manuscripts from Ancient Greece. They used the term làganon to indicate a mixture of flour and water, then cut into long strips, similar to the modern Tagliatelle.
In the Middle Ages, new ways of cooking and new shapes of Pasta were introduced. They started boiling the pasta, instead of cooking it in the oven and they started making Rigatoni, Penne, Ravioli, and Tortellini. Following the advent of egg pasta and dried pasta as well.
During the centuries, Pasta became one of the most popular and consumed food in all of Italy, becoming in the modern age, one of the symbols of Italian cuisine.
Nowadays, there are more than 300 different pasta shapes known and used throughout Italy. There are 139 pasta factories (excluding the small artisanal pasta productions) and each year about 3.3 million tons of pasta are produced. On average, each Italian consumes about 50 pounds of pasta per year.
EGG PASTA
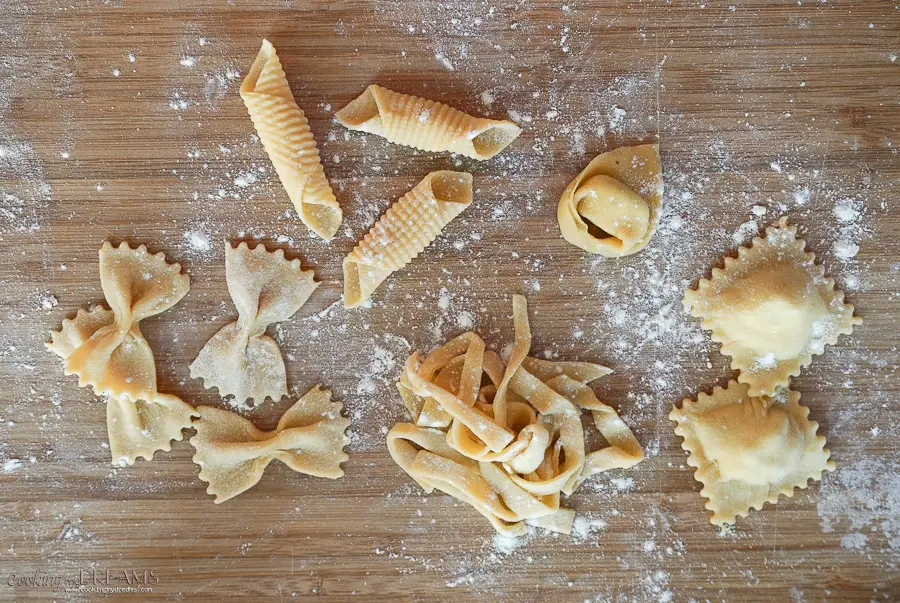
Egg Pasta is mostly used for fresh pasta shapes that need to be rolled out really thin and that needs to hold their shape. This is because adding the eggs in the dough, make the pasta less elastic but more flexible. This allow you to roll the pasta as thin as paper with little difficulty and not much risk of breaking it.
The ratio for the egg pasta dough is 1 medium egg per person, for approximately 100g (3.5 oz) of all-purpose flour (or commonly known as 00). I usually always start with 80g (¾ cup) of flour and then add more if necessary. The quantity really depends on the size of the eggs so it may vary.
Ingredients
- 2 medium Eggs
- 6.5 oz (185 g) All-Purpose Flour
- a pinch Salt
Instructions
- Pour ¾ of the flour in a bowl or on a work surface. Add a pinch of salt, then make a hole in the center.
- Add the eggs in the center, then with a fork start whisking them and slowly add a little bit of flour at a time.
- When the dough becomes too thick and sticky, start kneading with your hands, for about 10 minutes, adding more flour if necessary.
- When you have a soft silky uniform dough, cover it with plastic wrap and set it aside or in the fridge to rest for 15-20 minutes.
- Split the dough into 2-3 parts, then take one and cover the rest again with plastic wrap. Cover the dough with flour, then flatten it with your hands.
- Start using the rolling pin making pressure from the center outwards. Turn and flip the dough often to make it even and add more flour if it becomes sticky.
- When the dough is uniformly thick about 1-2 mm (approx 1/16"), it's ready to be cut into pasta shapes.
EGG PASTA VIDEO
TAGLIATELLE
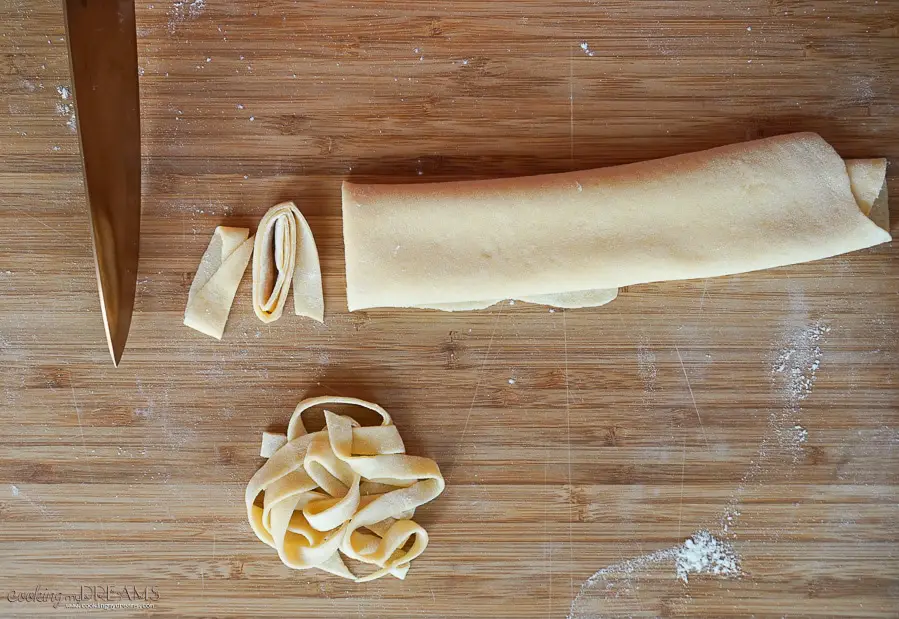
Sprinkle the pasta sheet with flour, then fold it on itself a few times until you have a strip short enough for the knife to cut.
With a sharp knife, cut strips wide about 7 mm (0.3"). Unfold them, sprinkle with some more flour and make them into nests to rest on a clean cloth.
Tagliatelle are most commonly served with Ragù (Beef Bolognese sauce).
FARFALLE
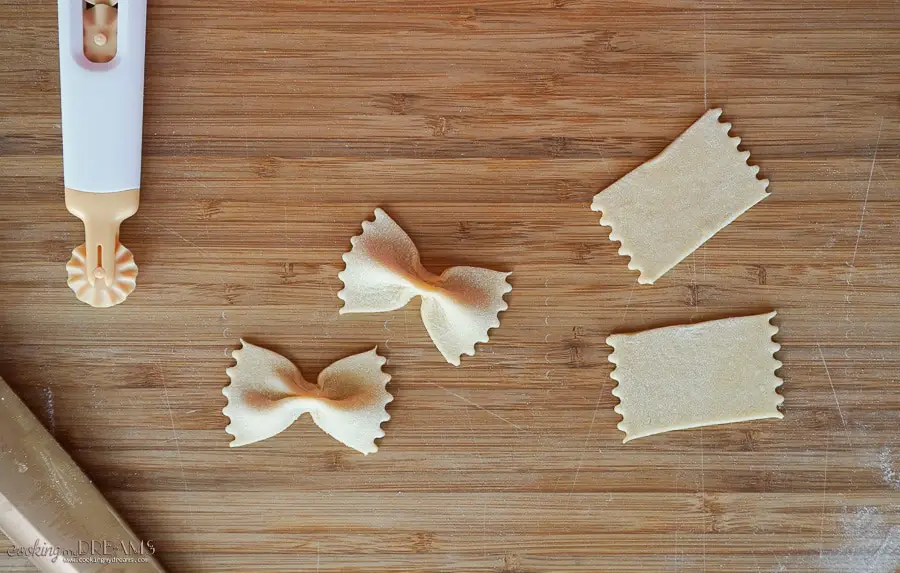
Cut out from the pasta sheet long strips wide about 2.5 cm (1"), then with a ruffled pasta cutter wheel, cut the strip into 4.5 cm (1.8") rectangles.
With your index and thumb, pinch in the center on the rectangle, creating the Farfalle shape.
RAVIOLI
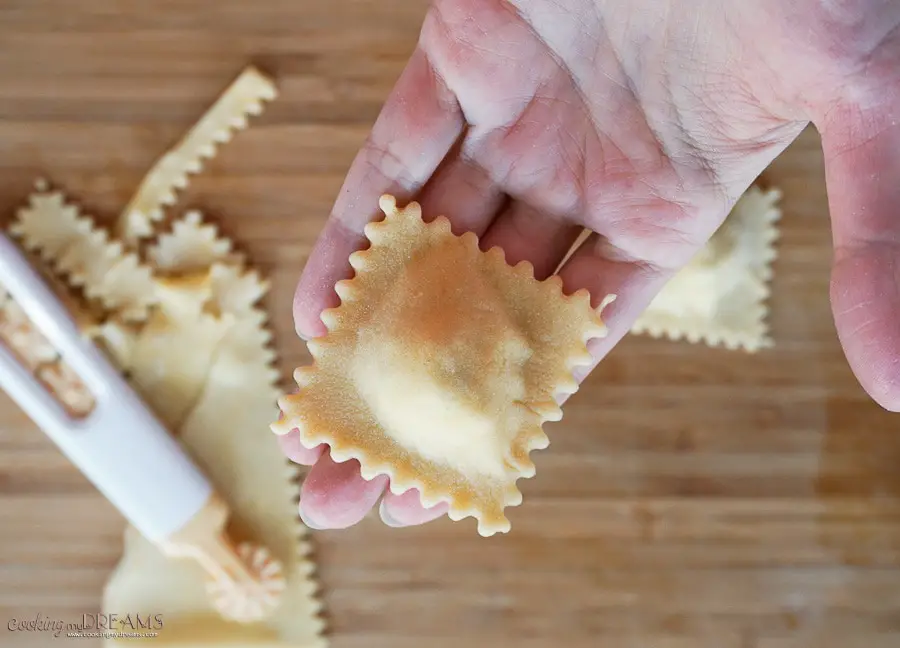
Divide and cut the fresh pasta sheet into 2 even sides. With a piping bag or a teaspoon, add knobs of filling, leaving at least 5 cm (2") of space between each other.
With a brush or your finger, brush some water around each filling knob, then cover with the other part of the pasta sheet. Another way is to spray the dough with water before adding the filling.
Press well with your fingers around each filling to make sure the pasta is completely sticking shut.
With a ravioli cutter, cookie cutter or a cutter wheel, cut the ravioli shapes, as long as there is at least 1 cm (⅜") of pasta around the filling.
Check these recipes for Ricotta and Smoked Salmon Ravioli, Tuscan Potato Ravioli or Roasted Pumpkin Ravioli.
TORTELLONI
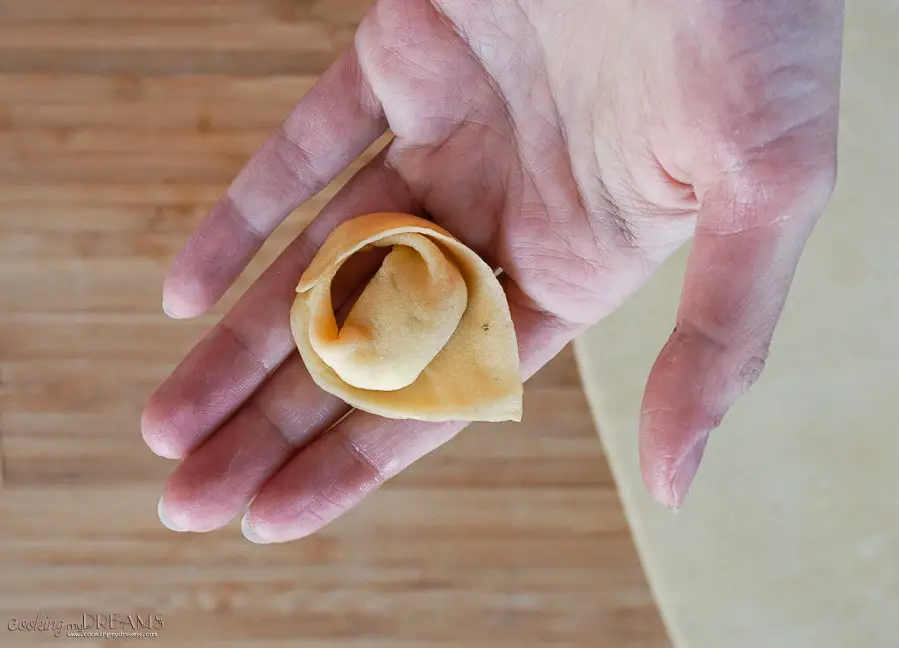
Cut out from the pasta sheet into squares about 6.5 cm (2 ½") per side. Fill each square with a knob of filling, then brush water along the 4 edges.
Close into a triangle, pressing well the pasta to make sure is sticking shut.
Now bring 2 of the points to the front and stick them together pressing well (add a drop of water if necessary).
Check these Ricotta and Herbs Tortelloni.
GARGANELLI
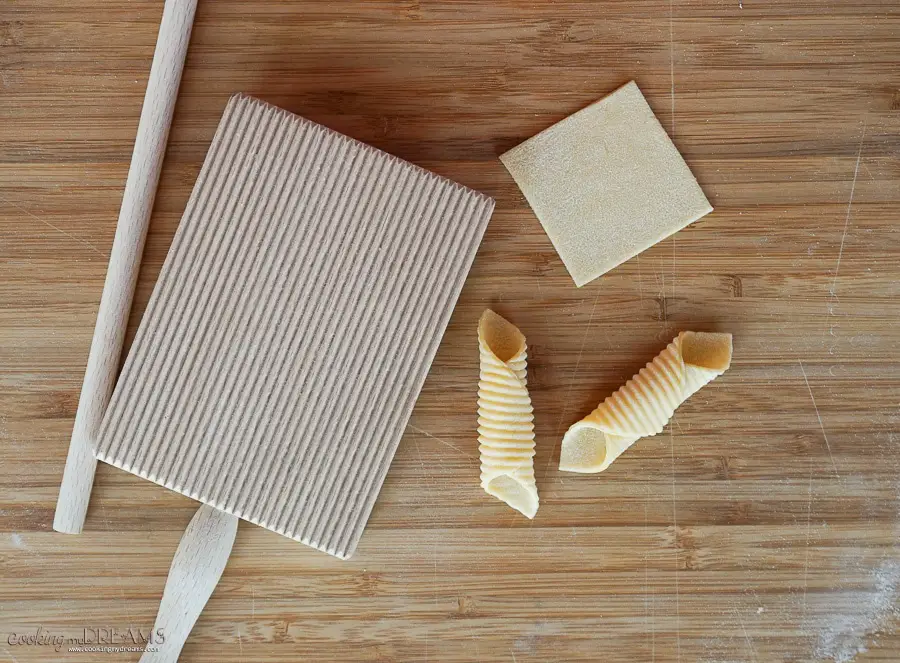
Cut out from the pasta sheet into squares about 5 cm (2") per side.
Using the gnocchi board and its wooden stick, place the square diagonally and then roll from a corner up pressing gently to give texture and also to stick the pasta shut into the Garganelli shape.
If you don't have a gnocchi board, you can do the same movement on the cutting board using a pencil to get untextured Garganelli.
Try these Garganelli with Shrimps, Squids and Zucchini.
SEMOLINA PASTA
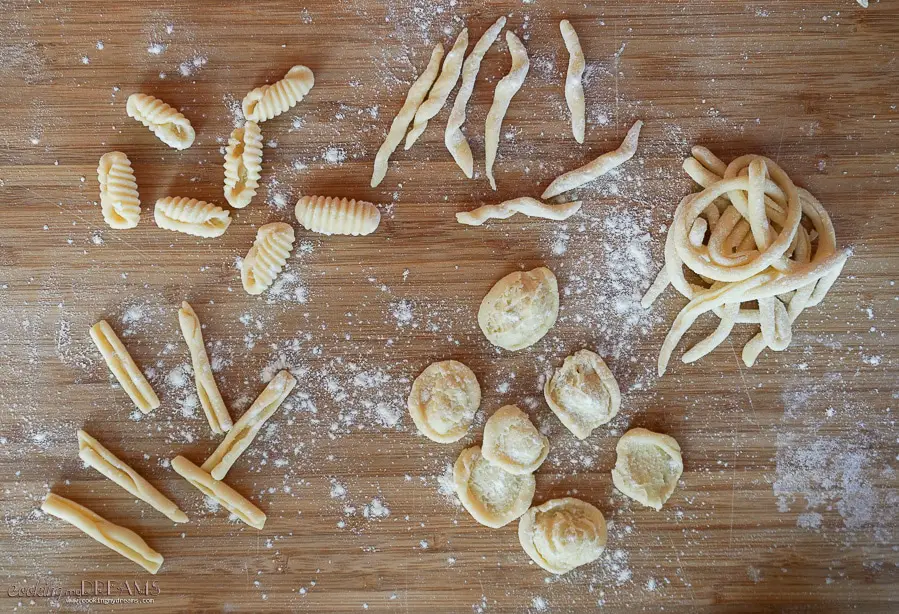
Semolina Pasta is mostly used for rough fresh pasta shapes which are thicker and more rustic. The semolina is coarser than all-purpose flour, so it gives the pasta more texture and flavor, but less flexibility because you cannot roll it out very thin and since it's very elastic, it doesn't retain the shapes very well.
The ratio for the semolina pasta dough is 50g (¼ cup) of water for approximately 100g (3.5 oz) of semolina flour. You can also mix both semolina and all-purpose flour if you want to make it more or less elastic.
One exception is to make Pici, in which you should use all-purpose flour (with the same quantities as per the below recipe) instead of semolina (or an 80-20 ratio if you want to use both), otherwise they would break easily.
Ingredients
- 6.5 oz (185 g) Durum Wheat Semolina flour, fine
- ½ cup (125 ml) Water
- a pinch Salt
- ½ tbsp Olive Oil
Instructions
- Pour the semolina flour in a bowl and add the pinch of salt and a quick drizzle of olive oil.
- Add half of the water and start mixing it to the semolina. Knead with your hands when it starts to agglomerate.
- Add a little bit of water at a time, continuining the kneading, until you start to get a dough which is not crumbly nor wet.
- Knead for a few minutes to make it well uniform, then cover with plastic wrap and set aside for 15-20 minutes.
- Split the dough in 2-3 parts and cover the rest with plastic wrap again. Sprinkle semolina on your board and now it's ready to make pasta shapes.
SEMOLINA PASTA VIDEO
PICI
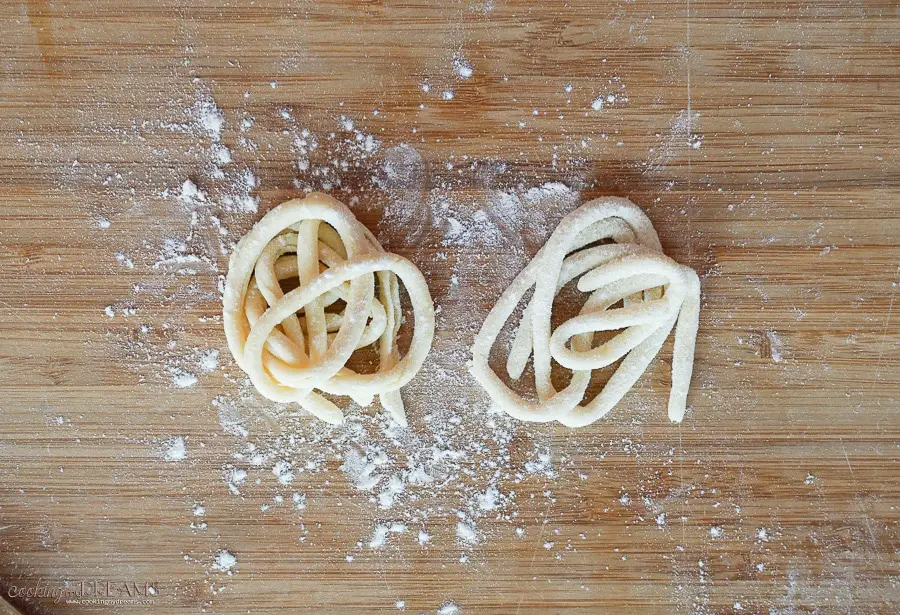
Cut big chunks of dough and start rolling it first between your palms and then on the cutting board.
Another way is with the rolling pin: roll the dough to make it flat and thinner, then cut long strips. Roll the strips on your cutting board to make long thick cords. (Both ways are shown in the video).
Pici should be thick about 5 mm (3/16").
Check these classic Tuscan Pici all'aglione with garlic tomato sauce or my favorite Pici Cacio e Pepe.
ORECCHIETTE
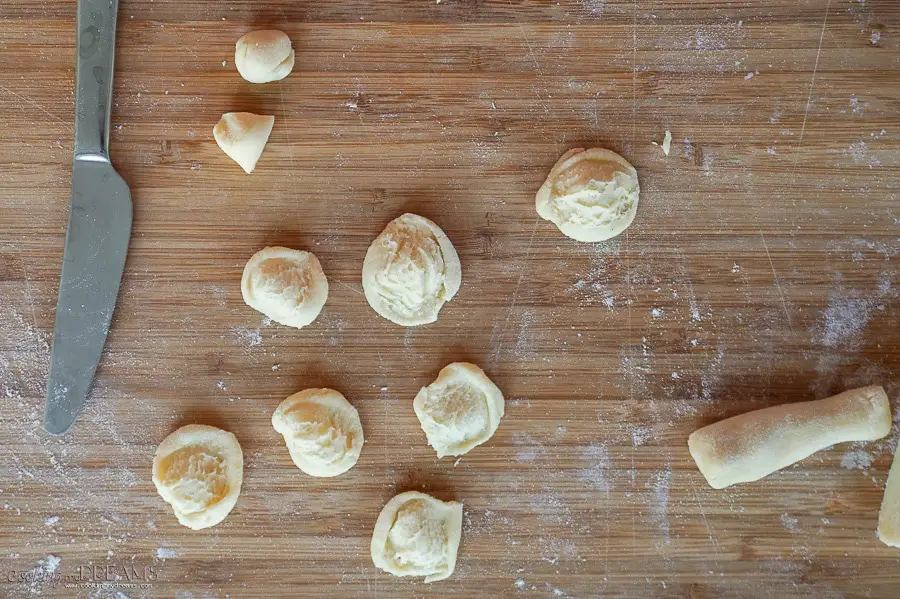
Roll the dough into a snake, then chop it into small chunks.
With a rounded knife, drag the chunk on the cutting board pressing slightly. Then turn it upside down to make the Orecchiette shape.
Orecchiette are most commonly made with sautèed broccoli rabe with oil, garlic and chili pepper flakes.
CAVATELLI
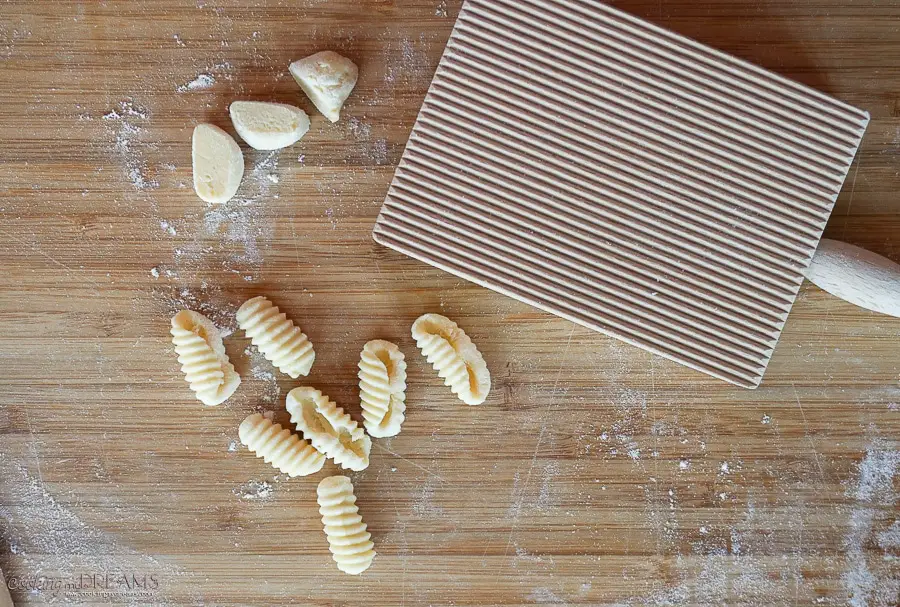
Roll the fresh pasta dough into a snake, then chop it into small chunks.
Roll each chunk with your fingers on the gnocchi board, to make it textured on one side and hollow on the other.
If you don't have a gnocchi board, you can do the same movement on the cutting board to get untextured Cavatelli.
Try these Spelt Cavatelli with Broccoli sauce.
TROFIE
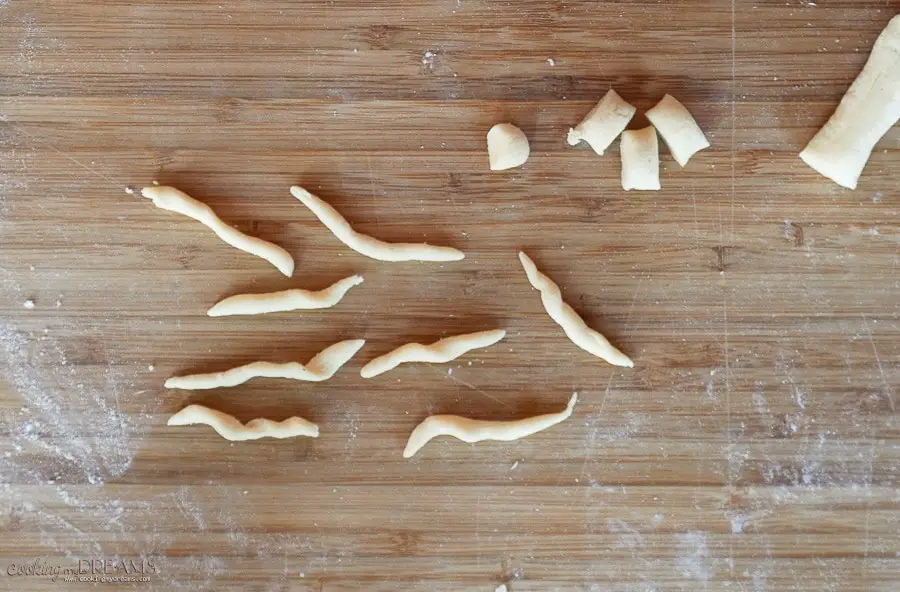
Roll the dough into a snake, then chop it into small chunks.
Roll each chunk with the side of your hand, pressing slightly on the cutting board or on the palm of your hand to make it twist on itself.
The classic Trofie are served with homemade basil Pesto.
STROZZAPRETI
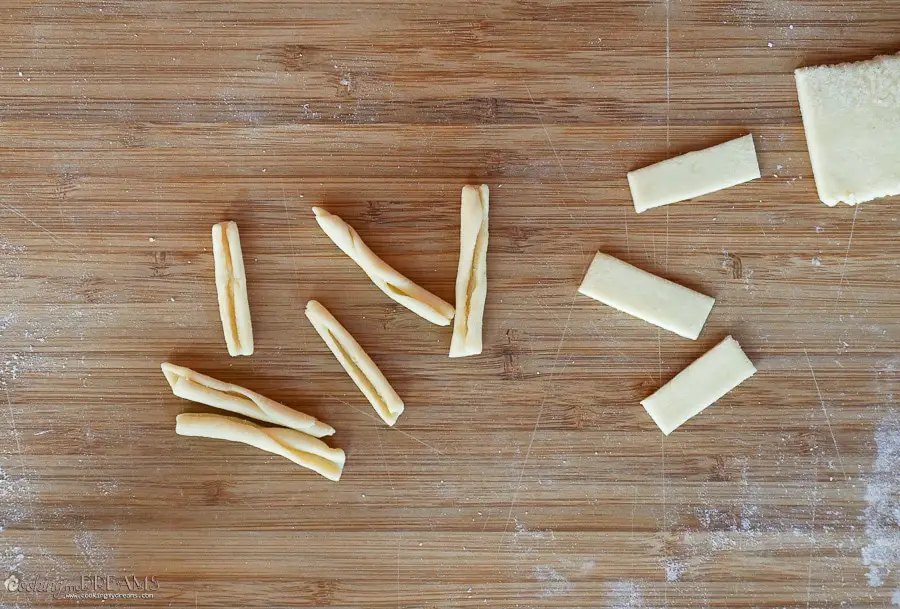
With the rolling, pin, roll the dough to make it flat and thinner, then cut long strips.
With your fingers, roll the strip on the cutting board or between your palms to make it twist on itself.
If you tried this recipe, please take a moment to rate it and share your thoughts in the comments. Your feedback means a lot to me! ★★★★★


Kiki Simpson
Jessica... I just "met" you through the food blogger summit and am in love with your blog! You make these pastas look so easy, but for someone who has tried some of these shapes and failed miserably, I am assuming it takes much practice?! I think I need to be more patient and just practice. Like that you use spelt flour. I will not give up! I'll keep trying. Any tips??
Hi Kiki! Thank you so much for your comment! Yes indeed it takes practice, like all the arts 🙂 Start with easy shapes like Pici, ravioli or Garganelli. It will boost your confidence when you're proud of what you've made!