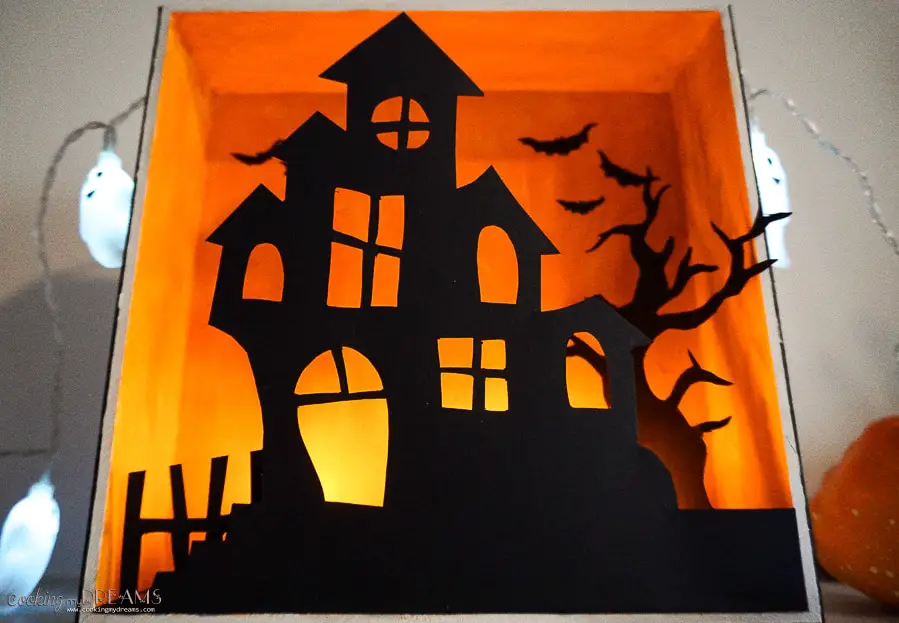
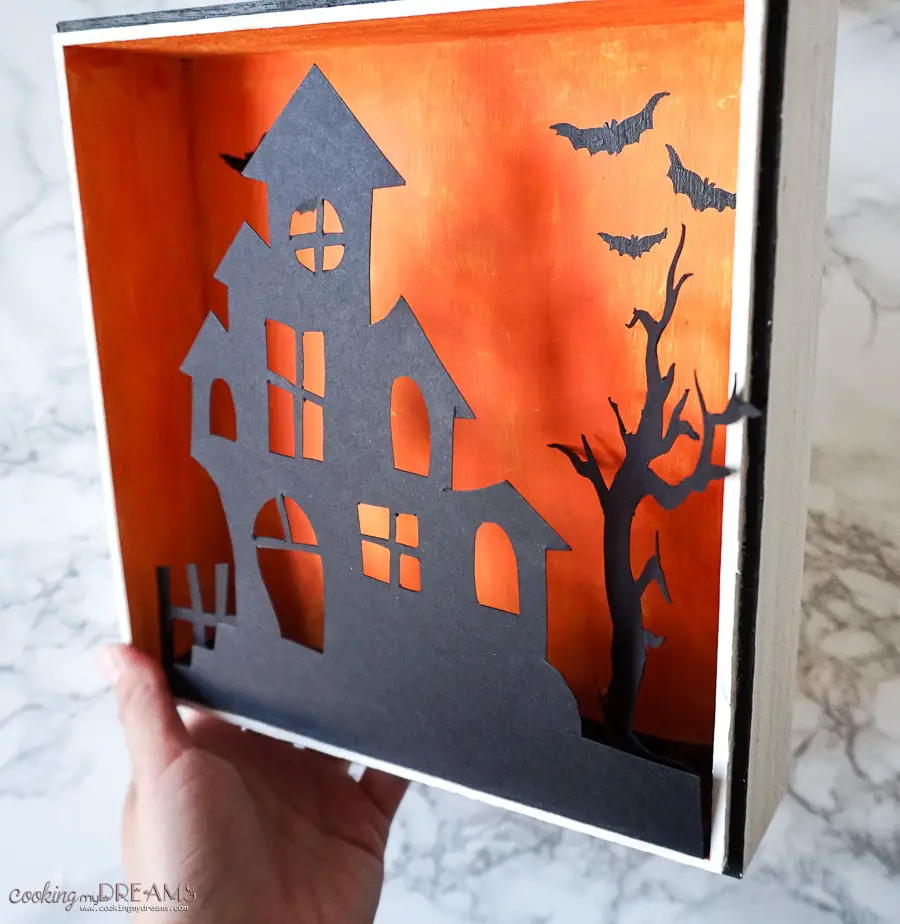
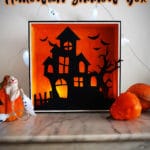
This is what your Halloween decor was missing! A cute wooden Halloween shadow box with a haunted house, a spooky tree and eerie lights. It's really easy to make, also together with your kids!
The fact that this is my second Halloween decor craft while I haven't done any Christmas DIY decors yet, says something about me. I don't know what exactly, but it does.
I always liked Halloween, even though we don't really celebrate it much in Italy nor in The Netherlands. But I've never been a fan of those tacky decorations like plastic spiders or skeletons. I prefer my decor to be simple and cute. A few pumpkins here and there, some ceramic ghosts, a few lights and some DYI decoration like my Nightmare before Christmas felt garland.
This year I wanted to do a slightly bigger decoration. Something that could be the central focus on my fireplace mantel. Browsing for ideas, I stumbled on shadow boxes and a lightbulb immediately popped up over my head!
The very next day and I went to my favorite hobby store to buy all the essentials, which actually was just a wooden box, a black cardboard sheet and some acrylic paint. I couldn't find at the moments the lights I wanted so I got them the following day.
I am a participant in the Amazon Services LLC Associates Program, an affiliate advertising program designed to provide a means for sites to earn advertising fees by advertising and linking to Amazon.com. This means that if you click on a product link, I may receive compensation. This compensation comes at no additional cost to you, and as always I only recommend products I trust!
What do you need for this project
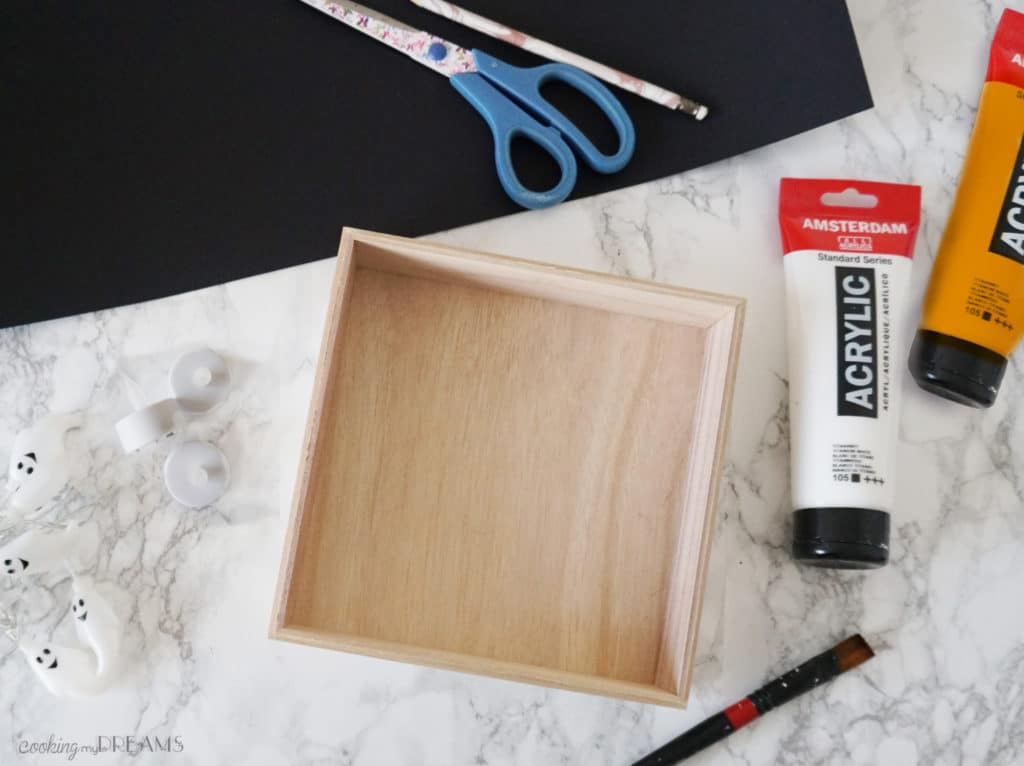
- A wooden or cardboard box, 21 x 21 cm (8.25 x 8.25 inches)
- Acrylic Paint: White, Orange, Black
- A Black cardboard sheet
- 3-4 LED tealights
- Scissors
- Precision Cutter Knife
- Pencil
- Paintbrush
Download the Templates
If you don't want to draw the silhouettes yourself, download the printable template of my designs!
- Download the template in WORD document:
- Download the template in PDF format:
Step-by-Step Instructions
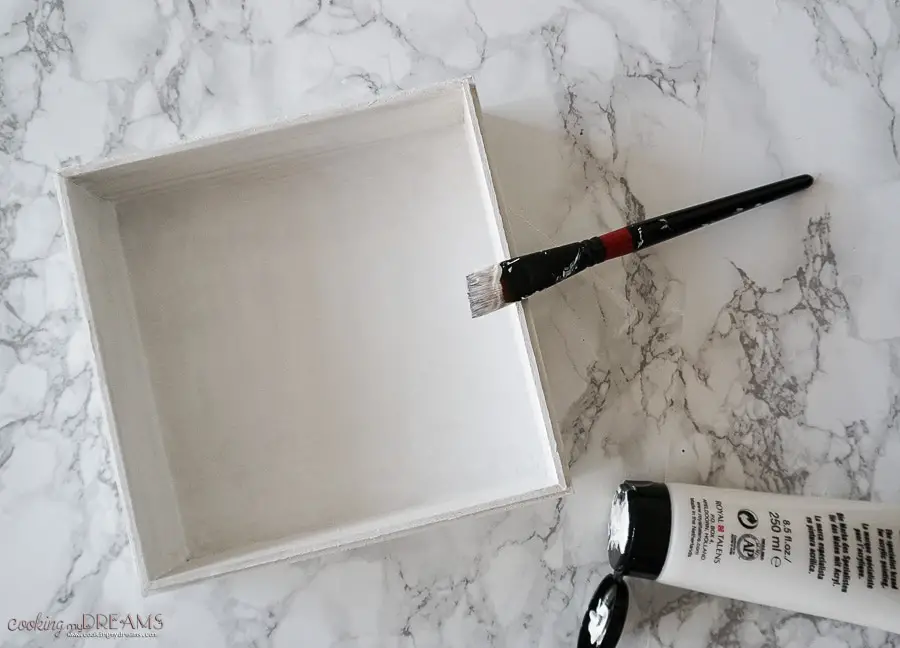
- Give 2 hands of white acrylic paint all over the box. Let it dry completely.
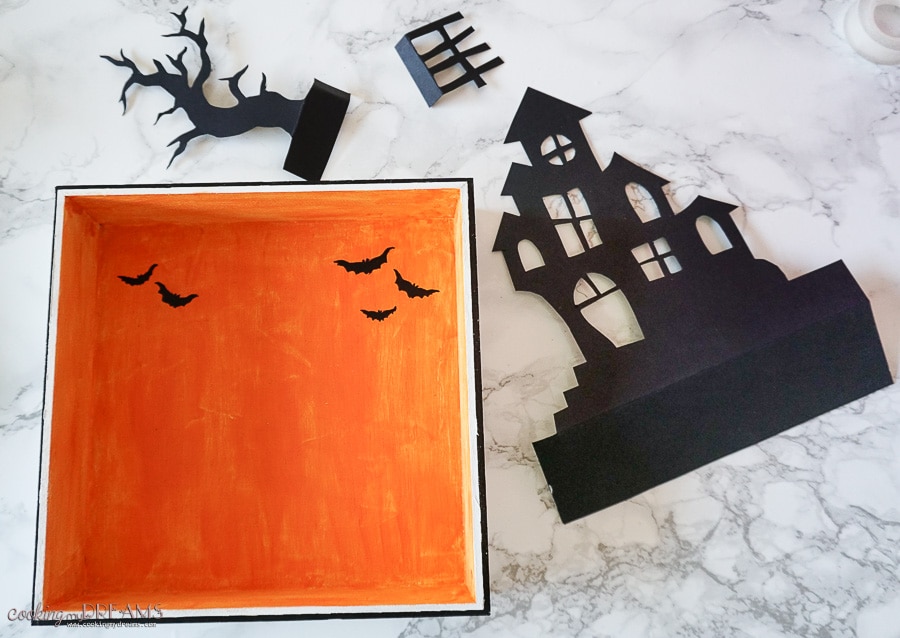
- Give 2 hands of orange acrylic paint on the inside walls of the box. You can also refine the outer border with a little bit of black paint.
- When it's completely dry, paint a few bats on the top corners with the black acrylic paint and a small brush. Otherwise you can cut them out from the template and glue them on.
- Cut-out a square of the same size of the box from the black cardboard sheet. Leave an extra inch on one side and fold it.
- Cut out the silhouettes from the template and draw them on the cardboard. The house should fit in the square you cut out earlier.
- Cut out the silhouettes from the cardboard using scissors and a precision knife.
- Glue or attach with tape the gate and the tree on the back of the house silhouette, using the folded flap and a stand.
- When everything is in place, glue the bottom side of the flap to the bottom inner wall of the box.
- When the glue is dry, add the tealights inside the box and enjoy your new Halloween Shadow Box!
Video Instructions
If you make this craft, leave a comment and post a photo on Instagram and tag @jess_craftingmydreams ! I'd love to see your creations! 🙂



Julie
I love this!! Going to make this soon. Thanks for sharing your idea.