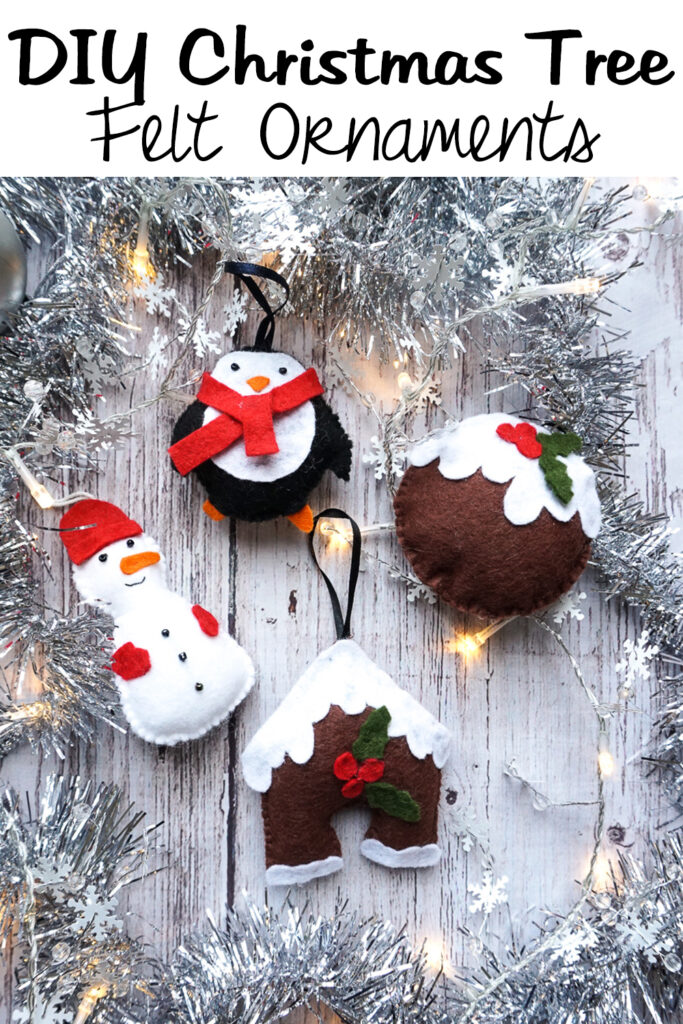
A cold penguin, a happy snowman, a yummy Christmas pudding and a cute gingerbread house. Do want these cute handmade felt decorations on your Christmas tree too? Then download the free printable templates and have fun making these felt ornaments!
This post may contain affiliate links, which means I may make a small commission off items you purchase at no additional cost to you.
I don't follow many Christmas traditions, but one I started a few years ago is to add some handmade Christmas decorations on my tree every year. Some are from my mom, some by me. I have painted food figurines, scrapbooking ornaments and glitter baubles, pyrography wood slices, salt dough decorations and this year I will add these felt ornaments.
It's very easy to make these Christmas ornaments, even with your kids! Make this your next weekend project and have fun with different colors, adding glitters and cute beads!
These are the easy steps to make these felt ornaments:
- Download the printable templates
- Print them on A4 paper
- Cut out all the shapes on the bottom of the page
- Trace and cut out all the shapes from felt sheets
- Sew the body parts together leaving a opening gap
- Fill it with fiberfill stuffing
- Finish sewing the body, adding the ribbon
- Glue the details on the front
Note: the beads on the penguin and snowman decorations, should be sewn on before you sew the body parts together, so to hide the thread. Or you can also glue them if you prefer.
Printable Templates
There is a free printable template for each of the 4 ornaments. Choose the one you prefer, download the .JPEG photo and print it on A4 paper.
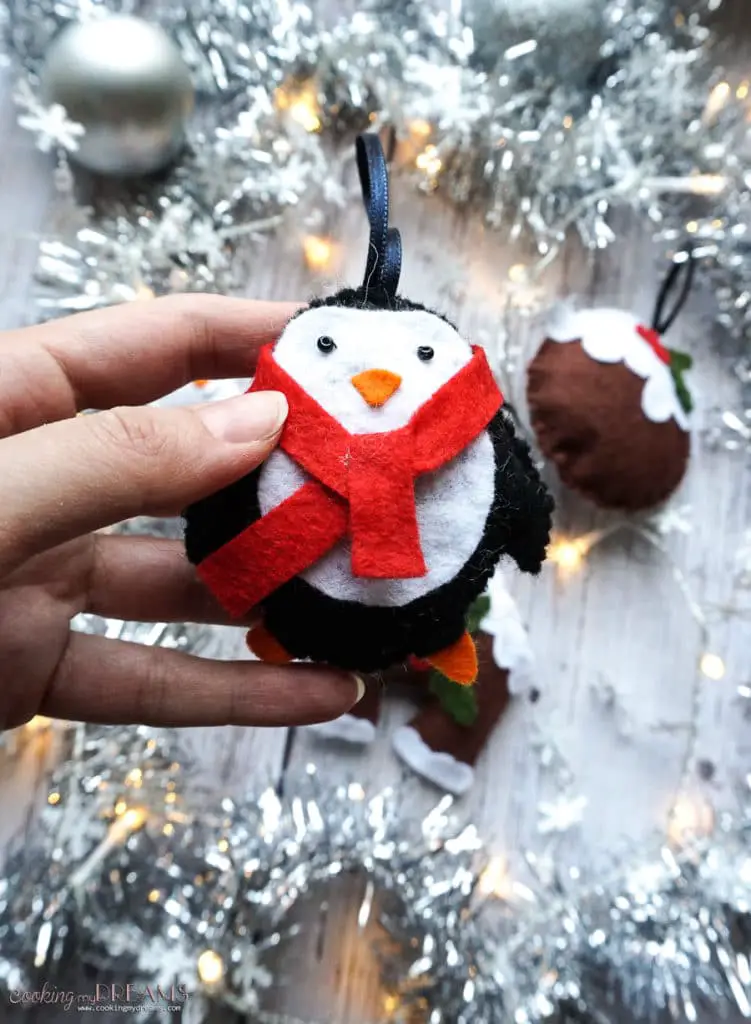
Penguin
Click the button above to download the penguin template!
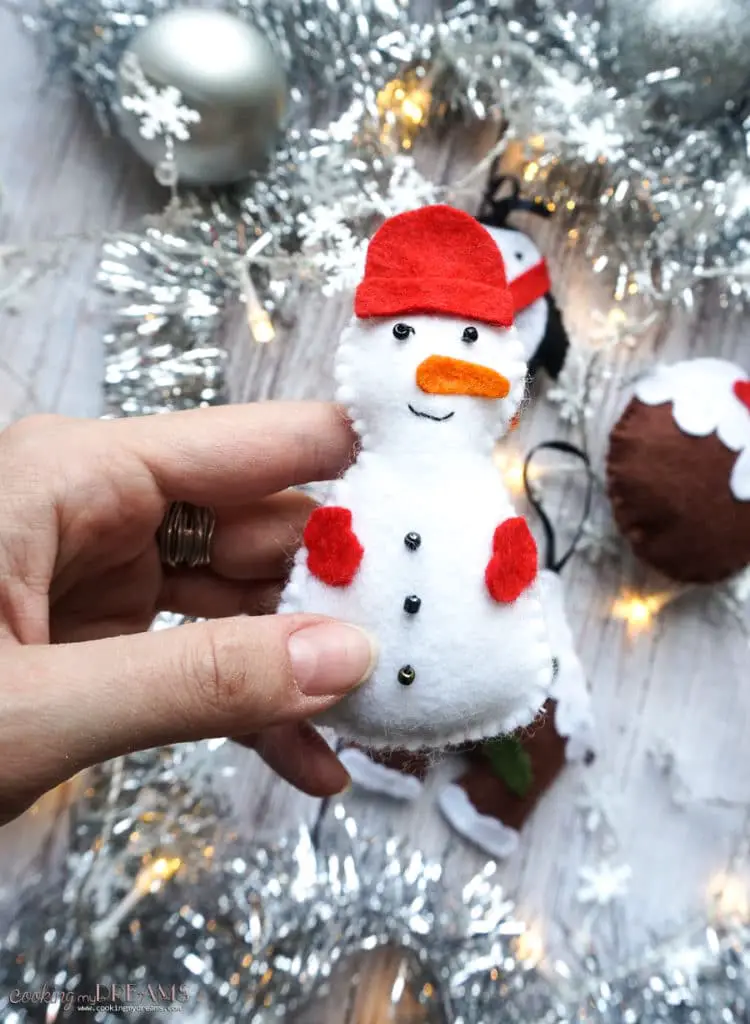
Snowman
Click the button above to download the snowman template!
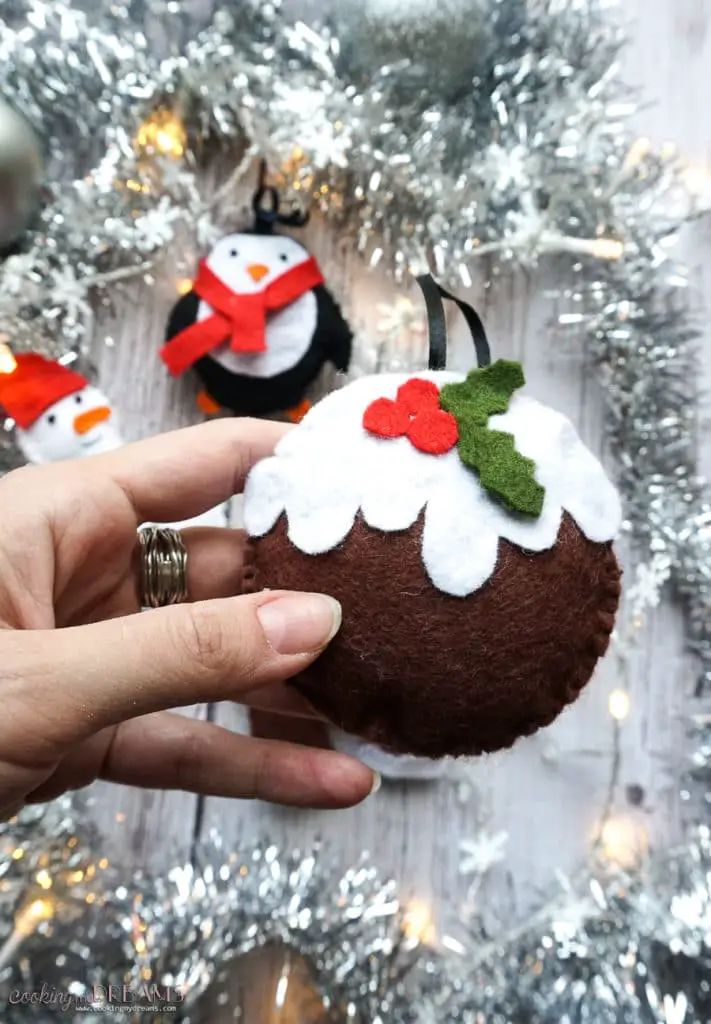
Pudding
Click the button above to download the pudding template!
Gingerbread House

Click the button above to download the gingerbread house template!
How to sew the Blanket Stitch
Blanket stitch is very commonly used with felt because it's perfect to close two sides together leaving a nice ornamental stitch which you don't have to hide. This stitch was originally used (still is) as a decorative border on blankets (hence the name), to avoid sewing the hem. Felt and fleece do not fray or ravel, so they're perfect for this kind of stitch.
The blanket stitch is really easy to do but it may take a while to get the hang of it. Once you learn the movement, you'll never stop using it!
See below istruction video on how to sew the blanket stitch.

More Christmas Printables? Download these beautiful watercolor Christmas Cards!
Instructions

Christmas Tree Felt Ornaments
Ingredients
- 1 White Felt sheet
- 1 Black Felt sheet
- 1 Brown Felt sheet
- 1 Red Felt sheet
- 1 Dark Green Felt sheet
- 1 Orange Felt sheet
- Fabric Glue
- White, Black and Brown thread
- Sewing needle
- 7 small Black Beads
- 40 cm (16 inch.) Thin ribbon any color
Instructions
- Download and print out the templates. Cut out each shape from the bottom of the page.
- Trace with a pencil the shape on the felt sheets and cut them out.
- For the penguin, glue already the white part of the body on the black and sew the beads on the front part of the body. For the snowman, sew the beads and the mouth on the front part of the body.
- Sew the 2 parts of the body together using the blanket stitch (see details in the post), leaving a 5 cm (2 inch) opening gap.
- Fill the body with fiberfill stuffing (pillow filling), then close the opening continuing with the blanket stitch, and sew the ribbon on top.
- Glue all the other details on the front of the decoration. Optional: cut a 20 cm (8 inch) long strip from the red felt to make a little scarf for the penguin and/or the snowman. Use the fabric glue to fix it.
I am a participant in the Amazon Services LLC Associates Program, an affiliate advertising program designed to provide a means for sites to earn advertising fees by advertising and linking to Amazon.com. This means that if you click on a product link, I may receive compensation. This compensation comes at no additional cost to you, and as always I only recommend products I trust!


Leave a Comment