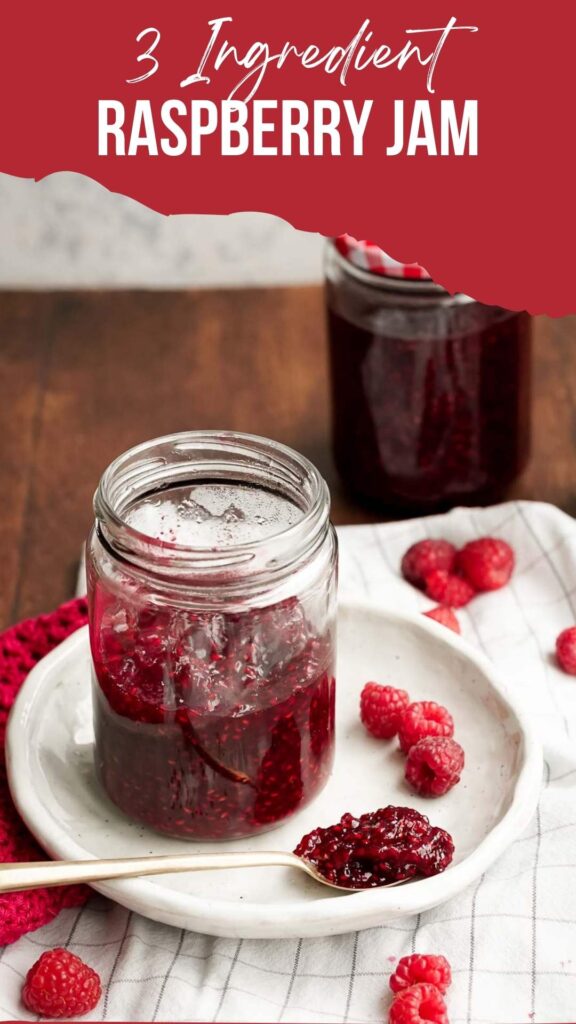
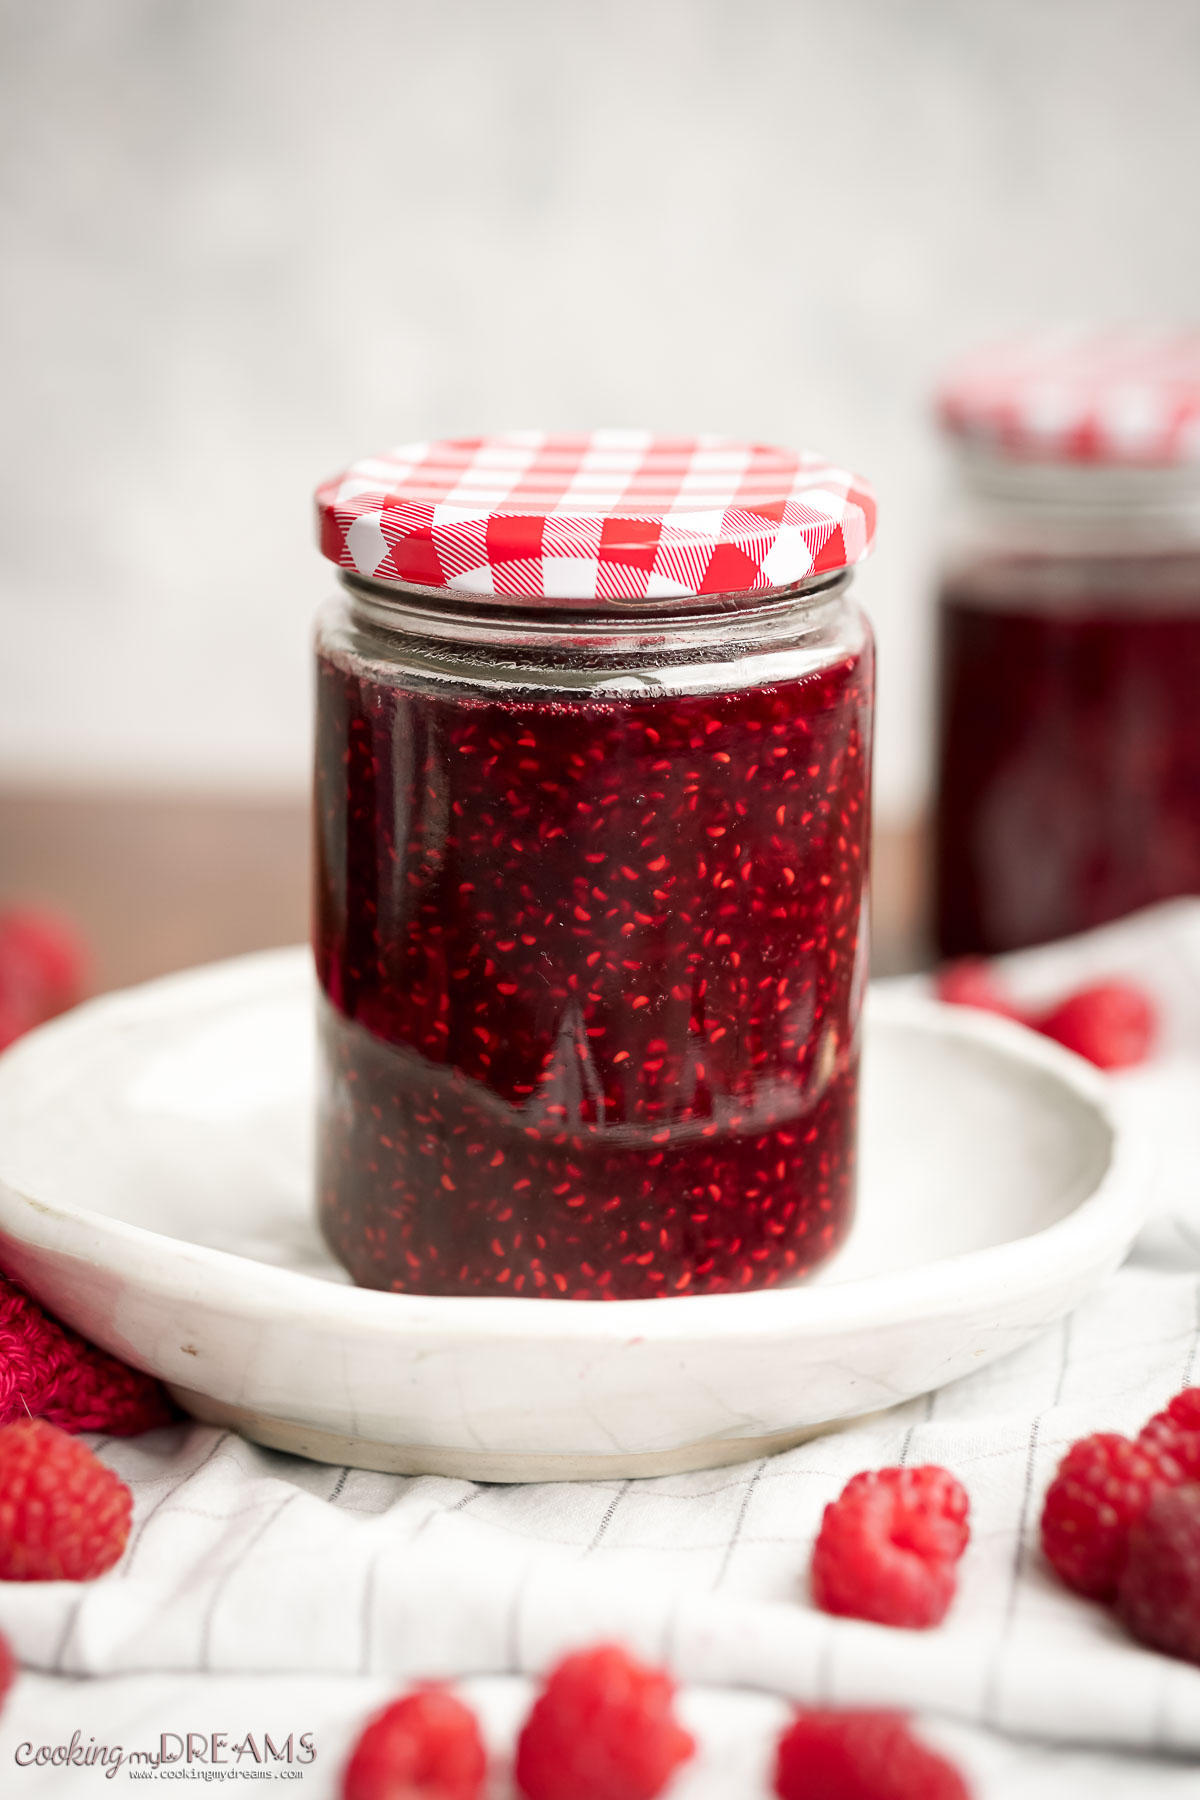
You only need 3 ingredients to make this easy and delicious Raspberry Jam. Most Italian households have some homemade jam in the pantry, because of the abundancy of fresh fruits in summer. Homemade Raspberry Jam is super easy to make, and it's perfect for a sandwich, pie, or cookies.
This post may contain affiliate links, which means I may make a small commission off items you purchase at no additional cost to you.
Raspberry jam made at home tastes fresher and more vibrant than store-bought versions. By controlling the amount of sugar and the quality of the raspberries, you can create a healthier and more flavorful jam. Additionally, making delicious jam can be a fun and fulfilling activity, providing a sense of accomplishment as you see your jars of bright red jam line up on the counter.
This raspberry jam recipe is incredibly versatile. Spread it on your morning toast, swirl it into yogurt, or use it as a filling for cakes, pastries, pies, and cookies. The possibilities are endless, making it a staple in any kitchen. Plus, homemade jam makes a wonderful gift for friends and family, like this Butternut Squash Jam I made for Christmas.
Jump to:
🧾 Ingredients
This easy homemade raspberry jam recipe has only 3 ingredients and you don't need to add fruit pectin to get a perfect spreadable jam.
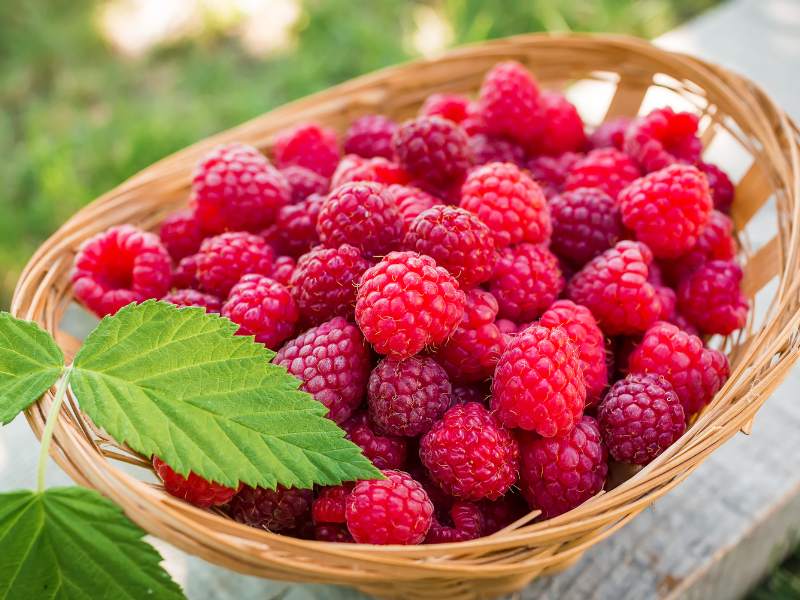
- Raspberries: Good quality fresh or frozen red raspberries work well. Fresh raspberries provide a more intense flavor, but frozen raspberries are convenient and available year-round.
- Sugar: Granulated white sugar is essential for both sweetness and preserving the jam. Adjust the amount based on your taste preference.
- Lemon Juice: Freshly squeezed lemon juice adds a hint of tartness and helps to set the jam. It also enhances the natural flavor of the raspberries.
See the recipe card for quantities.
🍳 Substitutions
- Sugar Alternatives: If you want to reduce the sugar content, you can use honey, maple syrup, or raw cane sugar. Keep in mind that these may alter the flavor and consistency.
- Other Berries: Feel free to mix raspberries with other fresh berries such as strawberries, blueberries, or blackberries for a mixed berry jam.
- Citric Acid: If you don't have lemon juice, a small amount of citric acid can be used as a substitute to achieve the desired tartness.
🥣 Variations
- Seedless Raspberry Jam: For a smoother jam, strain the cooked raspberries through a fine mesh sieve to remove the seeds before adding sugar.
- Raspberry Peach Jam: Combine raspberries with diced peaches for a unique twist on the classic recipe.
- Spiced Raspberry Jam: Add a pinch of cinnamon, nutmeg, or ginger for a warm, spiced flavor.
- Raspberry Jalapeño Jam: Add finely chopped jalapeños to the raspberries for a sweet and spicy kick. This variation pairs well with cheese and crackers or as a glaze for meats.
- Black Raspberry Jam: Substitute black raspberries for a deeper, more intense flavor. Black raspberries have a slightly different taste and add a rich, dark color to the jam.
📋 Instructions with Photos
It cannot be easier than this to make a small batch of the best raspberry jam! Follow these easy steps on how to make raspberry jam from scratch.
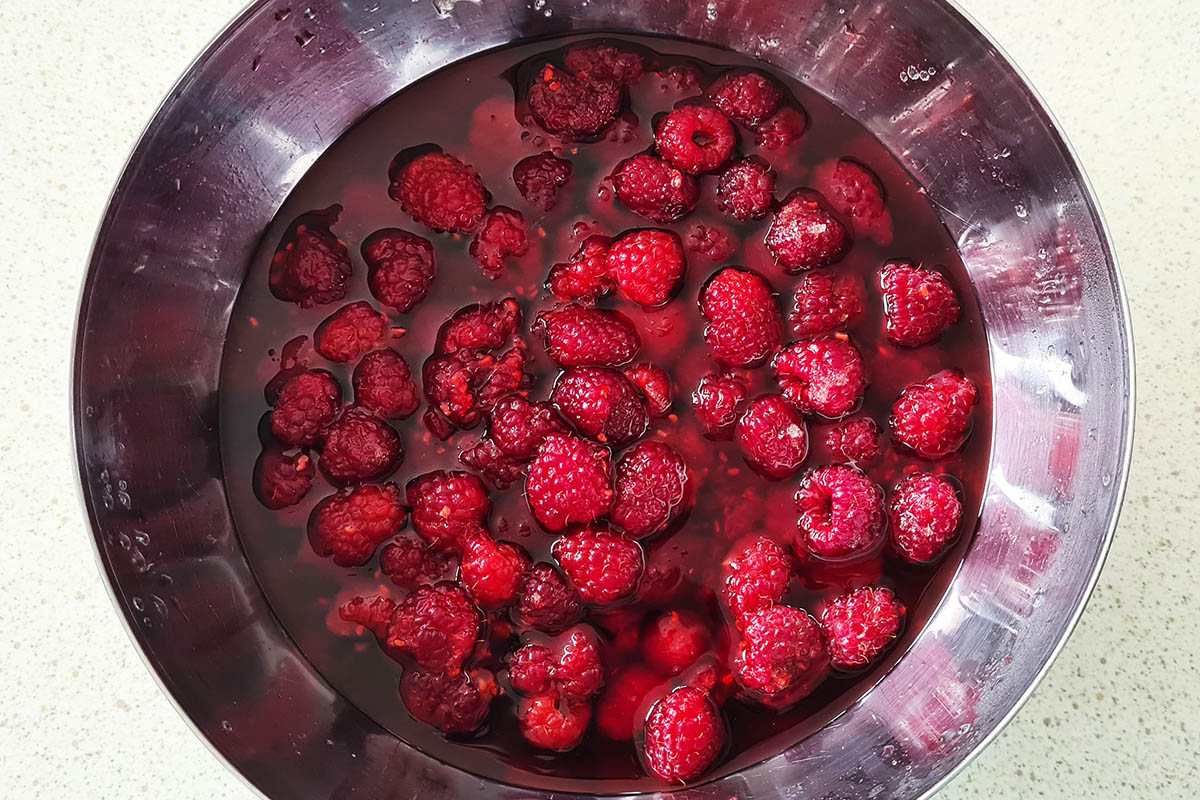
Step 1. Wash your fresh raspberries and drain them (skip this step if you use frozen raspberries). In a large bowl, add them with sugar and lemon juice.
Step 2. Let them rest 2 hours, or ideally overnight covered in the fridge. The next day, you'll have flavorful raspberries with lots of juice.
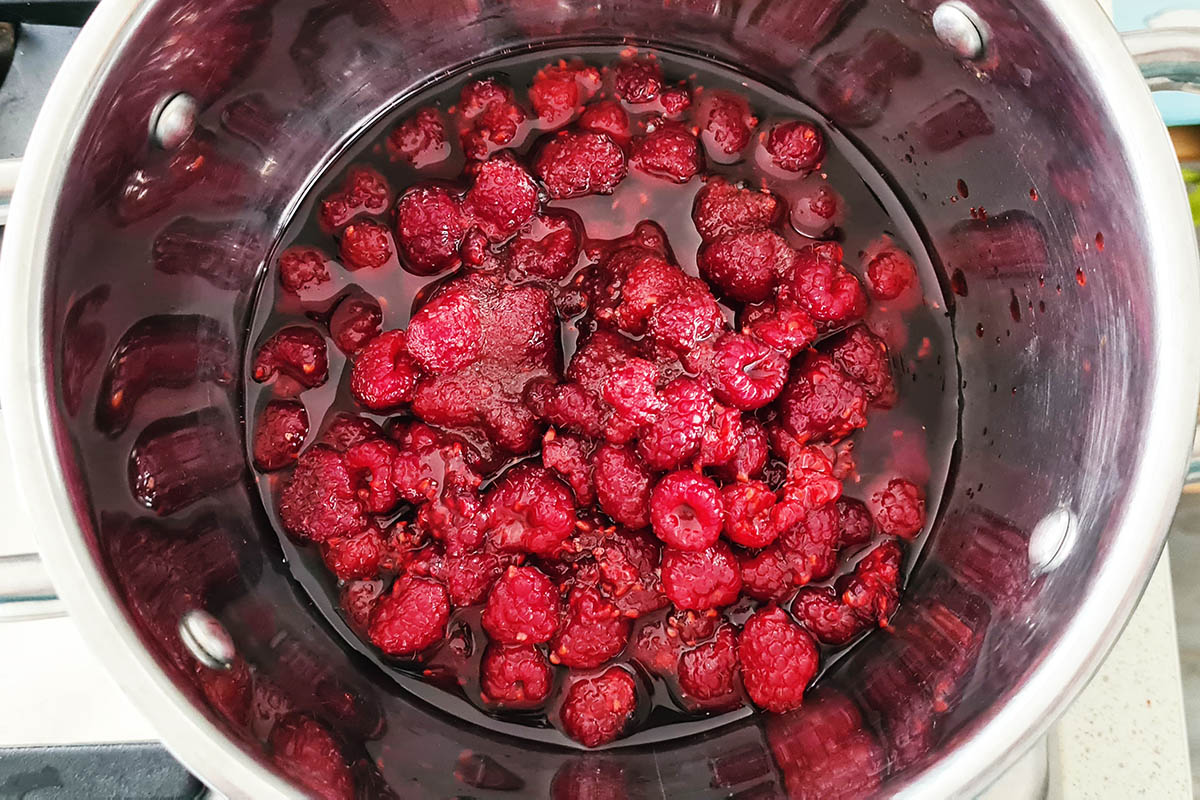
Step 3. Add everything into a large pot on medium-high heat. Keep an eye on it as once they heat up the foam will rise to the top. Lower the heat and mix when that happens.
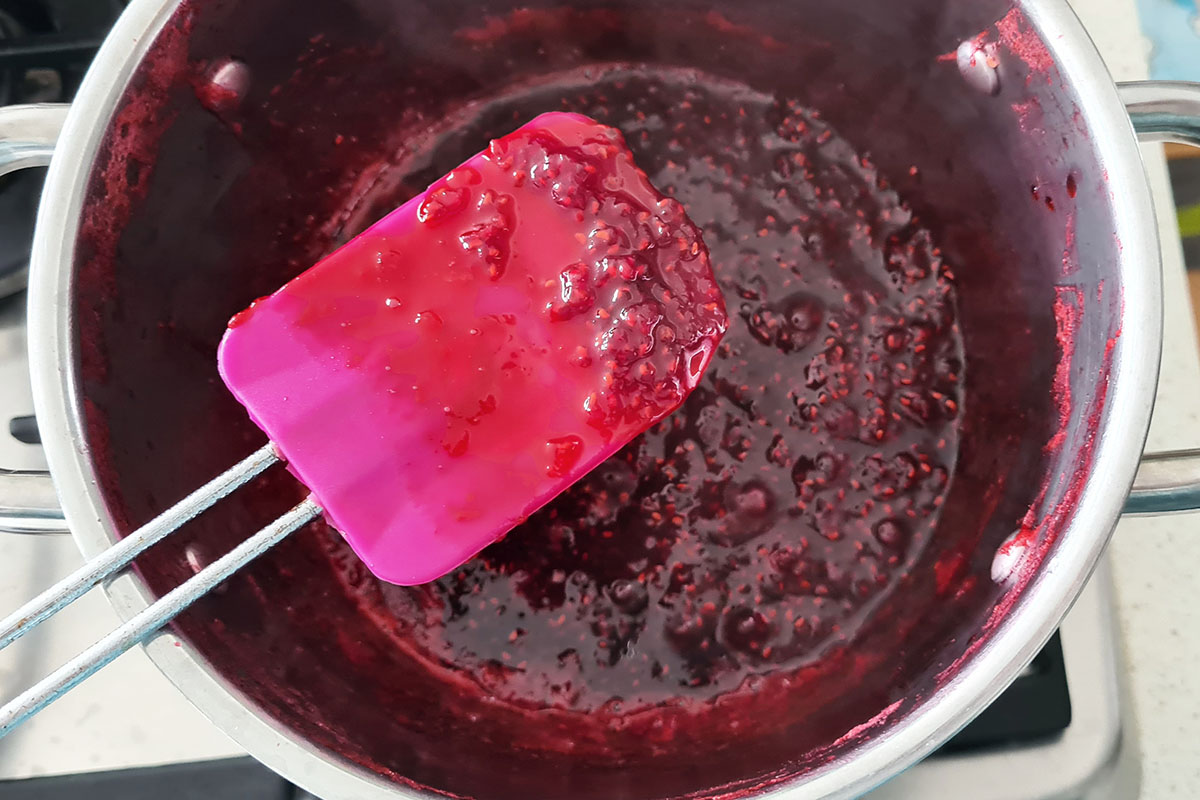
Step 4. Simmer at low heat for 1-2 hours or until you get the right consistency. It shouldn't be too watery but also not too thick, as it will thicken once it cools.
How to Sterilize Jars
If you're planning on canning your own jam for winter, it's very important to sterilize the jars, to avoid the growth of bacteria.
- Inspect the Jars: Before sterilizing, inspect your jars for any cracks or chips. Discard any damaged jars as they can break during the sterilization process or compromise the safety of your jam.
- Wash the Jars: Thoroughly wash the jars, lids, and bands in hot, soapy water. Rinse them well to remove all soap residue.
- Boil the Jars: Place a large pot or canner on the stove and fill it with enough water to completely submerge the jars. Carefully lower the clean jars into the pot using tongs. Make sure the jars are completely submerged in the water. Bring the water to a rolling boil. Boil the jars for at least 10 minutes to ensure they are properly sterilized. If you are at an altitude above 1,000 feet, add an additional minute of boiling time for each additional 1,000 feet.
- Boil the Lids: Place the lids and bands in a smaller pot of boiling water. Boil them for 5 minutes. Avoid boiling the lids for too long as it can damage the sealing compound.
- Remove the Jars: Using sterilized tongs, carefully remove the jars from the boiling water. Place jars upside down on a clean dish towel to drain. Do not dry the jars with a towel, as this can introduce bacteria. The heat from the jars will evaporate any remaining water.
- Fill the Jars: Fill the hot sterilized jars with your hot raspberry jam. This helps to ensure a proper seal and prevents contamination. Leave about ¼-inch headspace at the top of the jar to allow for expansion during the canning process.
- Seal the Jars: Wipe the rims of the jars with a clean, damp cloth to remove any spills. Place the sterilized lids on top and screw on the bands until they are fingertip-tight.
- Pasteurize the Filled Jars (Optional but recommended for long-term storage): Place the filled jars back into the boiling water bath, ensuring they are fully submerged. Process them for an additional 10 minutes (or adjust according to your altitude) to ensure a vacuum seal.
🍽 Serving Suggestions
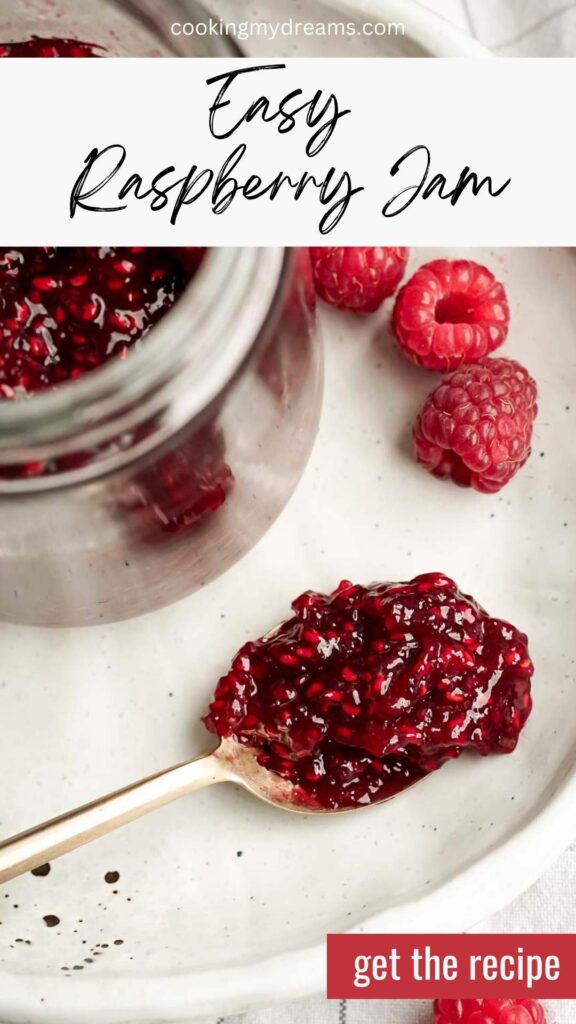
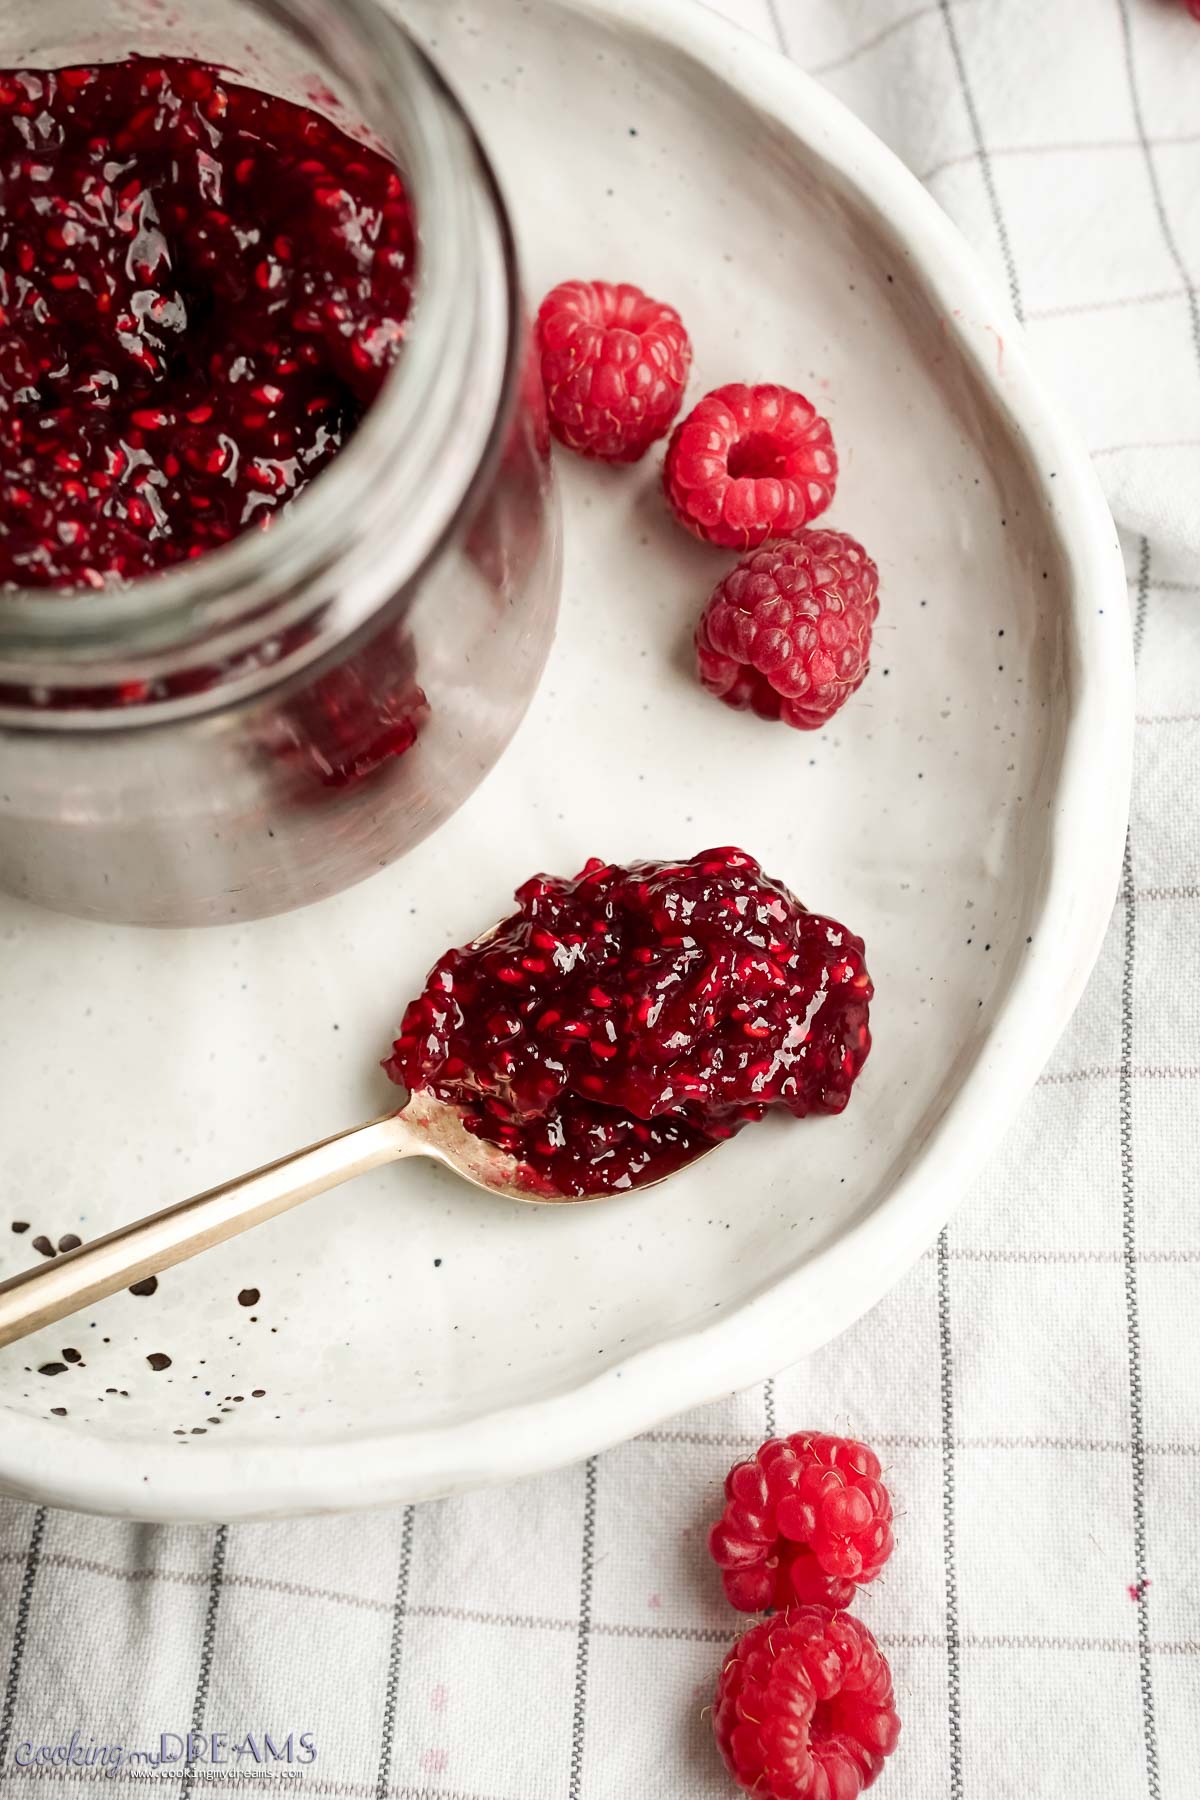
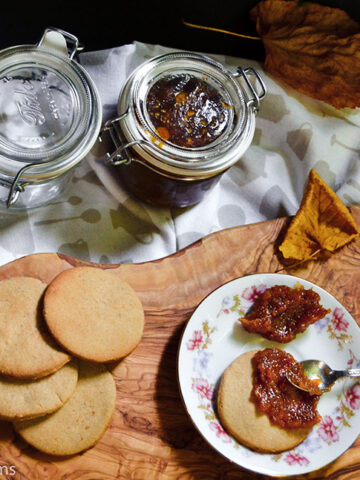
This easy raspberry jam recipe is perfect for spreading on toast, scones, or bagels with cream cheese, butter or peanut butter. It's also a great addition to yogurt, oatmeal, and pancakes. Use it as a filling for cakes like this Yule Log, or tarts (crostata) using this Rustic Shortcrust Pastry, or make raspberry jam cookies using these Sugar Cookies.
Pair it with cheese and crackers for a delightful snack. The sweet-tart flavor of fresh raspberry jam complements both sweet and savory dishes.
🔪 Equipment
- Large Pot: For cooking the raspberries and sugar together.
- Wooden Spoon: For stirring the jam as it cooks.
- Glass Jars: For storing the finished jam. Ensure they are properly cleaned and sterilized to prevent contamination. It's recommended to always use new jars to avoid defects that will prevent a perfect vacuum (especially the lids).
- Funnel: To help pour the jam into jars without making a mess.
- Lid Lifters and Jar Tongs: To safely handle hot jars and lids during the canning process.
❄️ Storage
Fridge: Store your homemade raspberry jam in sterilized jars in the refrigerator for up to one week once opened.
Freezer: For longer storage, raspberry jam can be frozen. Pour the jam into freezer-safe containers, leaving some space at the top for expansion, and freeze for up to six months. Thaw the jam in the refrigerator overnight before using it.
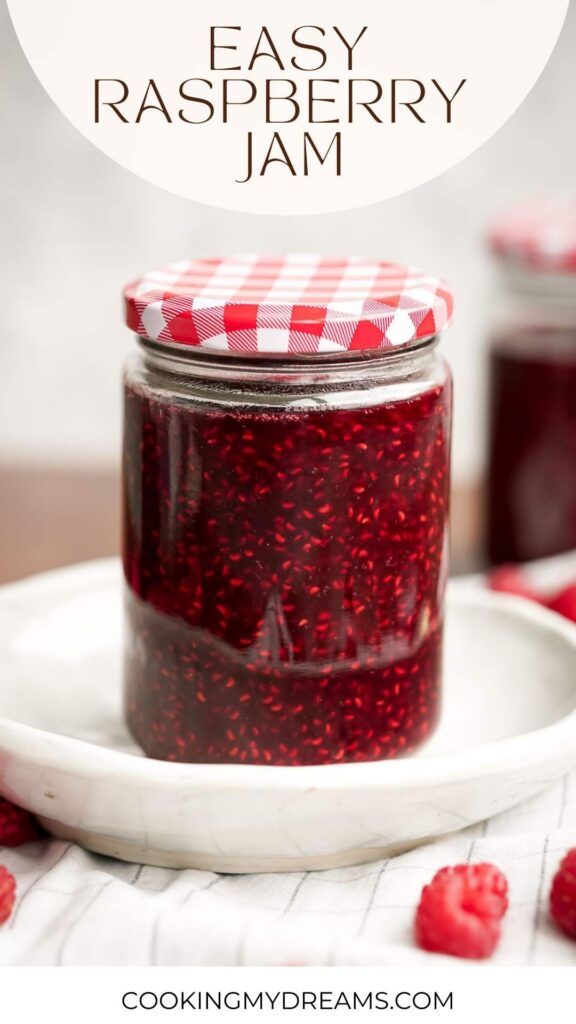
Vacuumed jars: After sterilizing the jars (see steps above) and pouring the hot jam inside, the jars will automatically vacuum, creating a perfect jarred jam that will last for months in your pantry.
💭 Recipe FAQs
Use the wrinkle test: place a small amount of jam on a cold plate, let it sit for a minute, then push it with your finger. If it wrinkles, it's set.
Homemade jams can last anywhere from 6 to 12 months when properly stored and unopened.
Yes, you can reduce the sugar to 50%, but reducing sugar may affect the jam's set and shelf life.
⭐ Top tip
For the best flavor, use the freshest raspberries you can find. If you're using frozen raspberries, ensure they are high quality and free from any added sugars or preservatives.
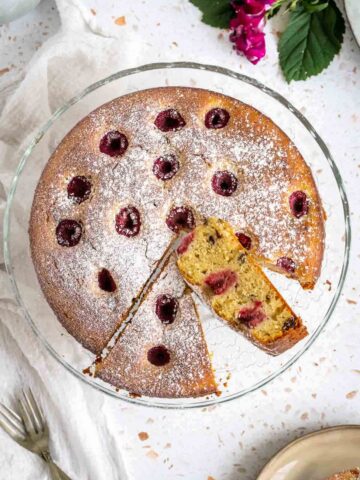
🫶 Related recipes you might like
Looking for other recipes like this? Try these:

If you tried this recipe, please take a moment to rate it and share your thoughts in the comments. Your feedback means a lot to me! ★★★★★
📖 RECIPE
Ingredients
Method
- Wash your fresh raspberries and drain them (skip this step if you use frozen raspberries).
- In a large bowl, add the raspberries with sugar and the juice of 1 lemon.
- Let them rest 2 hours, or ideally overnight covered in the fridge.
- Pour the raspberries together with their juice into a large pot and turn on the heat to medium. Keep an eye on it as once they heat up the foam will rise to the top. Lower the heat and mix when that happens.
- Simmer at low heat for 1-2 hours or until you get the right consistency. It shouldn't be too watery but also not too thick, as it will thicken once it cools.
- While the jam reduces, sterilize your jars and lids in a pot of boiling water for 10 minutes, or using a baby bottle sterilizer.
- To test if the jam is ready, place a small amount on a cold plate, let it sit for a minute, then push it with your finger. If it wrinkles, it's set.
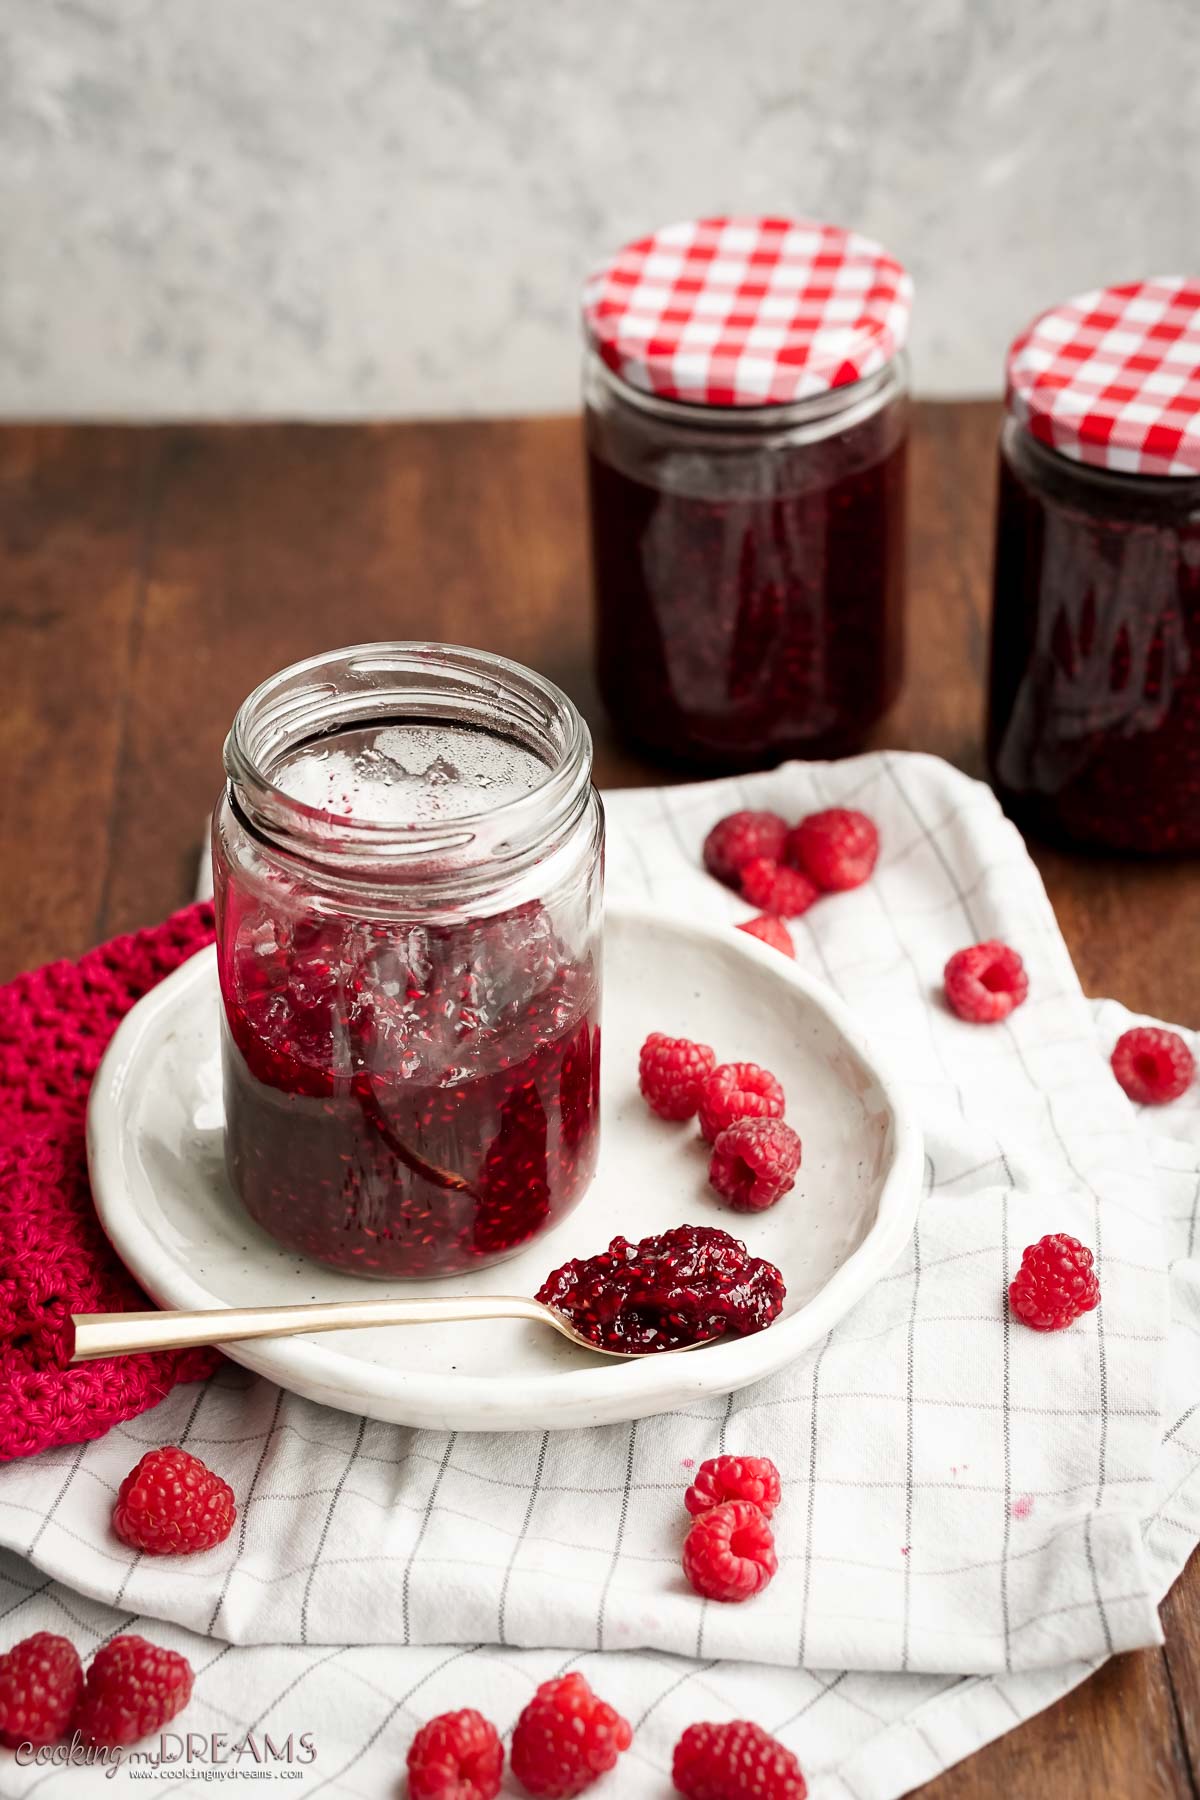
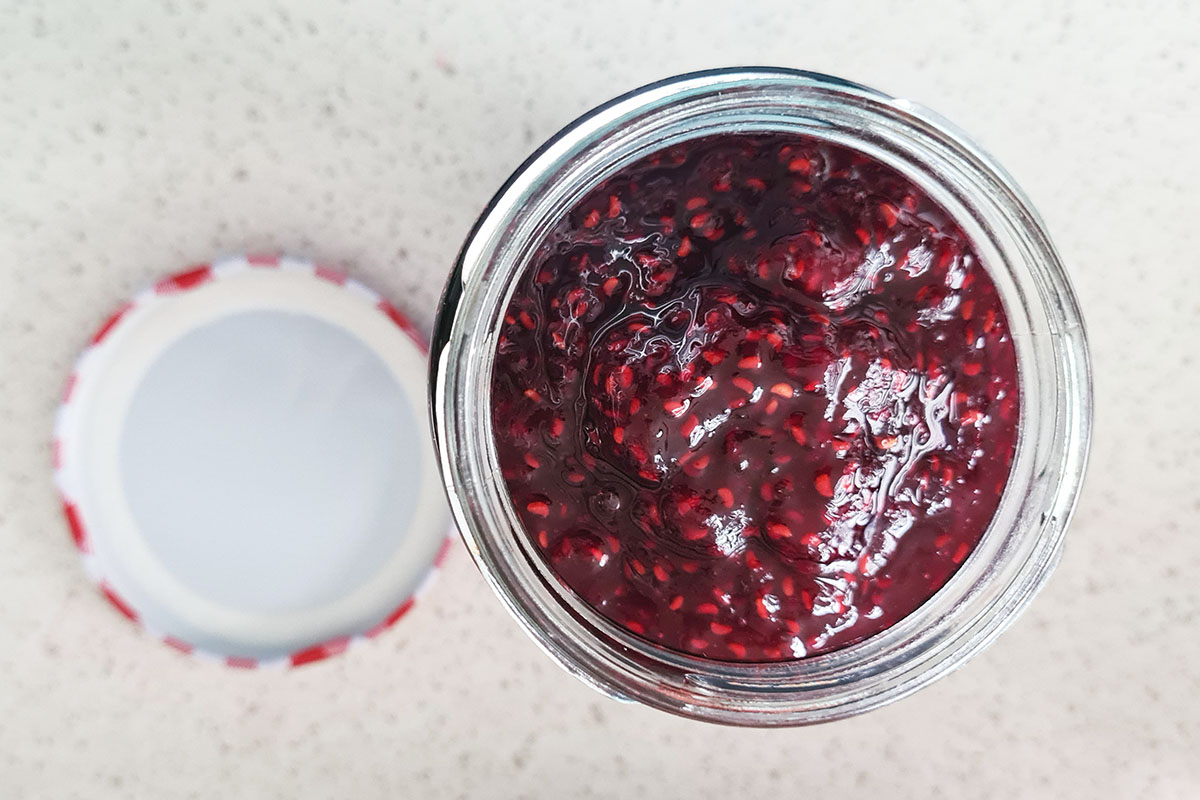
- Pour the hot jam into the sterilized jars, leaving ¼ of space on top.
- For extra precaution, boil the closed jars again for 10 minutes.
Nutrition
Nutritional information is only an estimate. The accuracy of the nutritional information for any recipe on this site is not guaranteed.
Holly Cameron says
I never made jam before and had no idea it was so easy. It came out with the perfect sweetness. Delicious!
Jessica Montanelli says
Thank you Holly, I'm glad you enjoyed it!